2. Connect to ClickHouse
Default OLAP connection and Connect to ClickHouse
Within Rill you can set the default OLAP connection on the project level or the dashboard level. For this course, we will set it up on the project level so all of our dashboards will be based on our ClickHouse table.
You have two option for your ClickHouse server:
Depending what you choose, the contents of your connection will change and I recommend looking through our ClickHouse documentation for further information.
Connect to ClickHouse
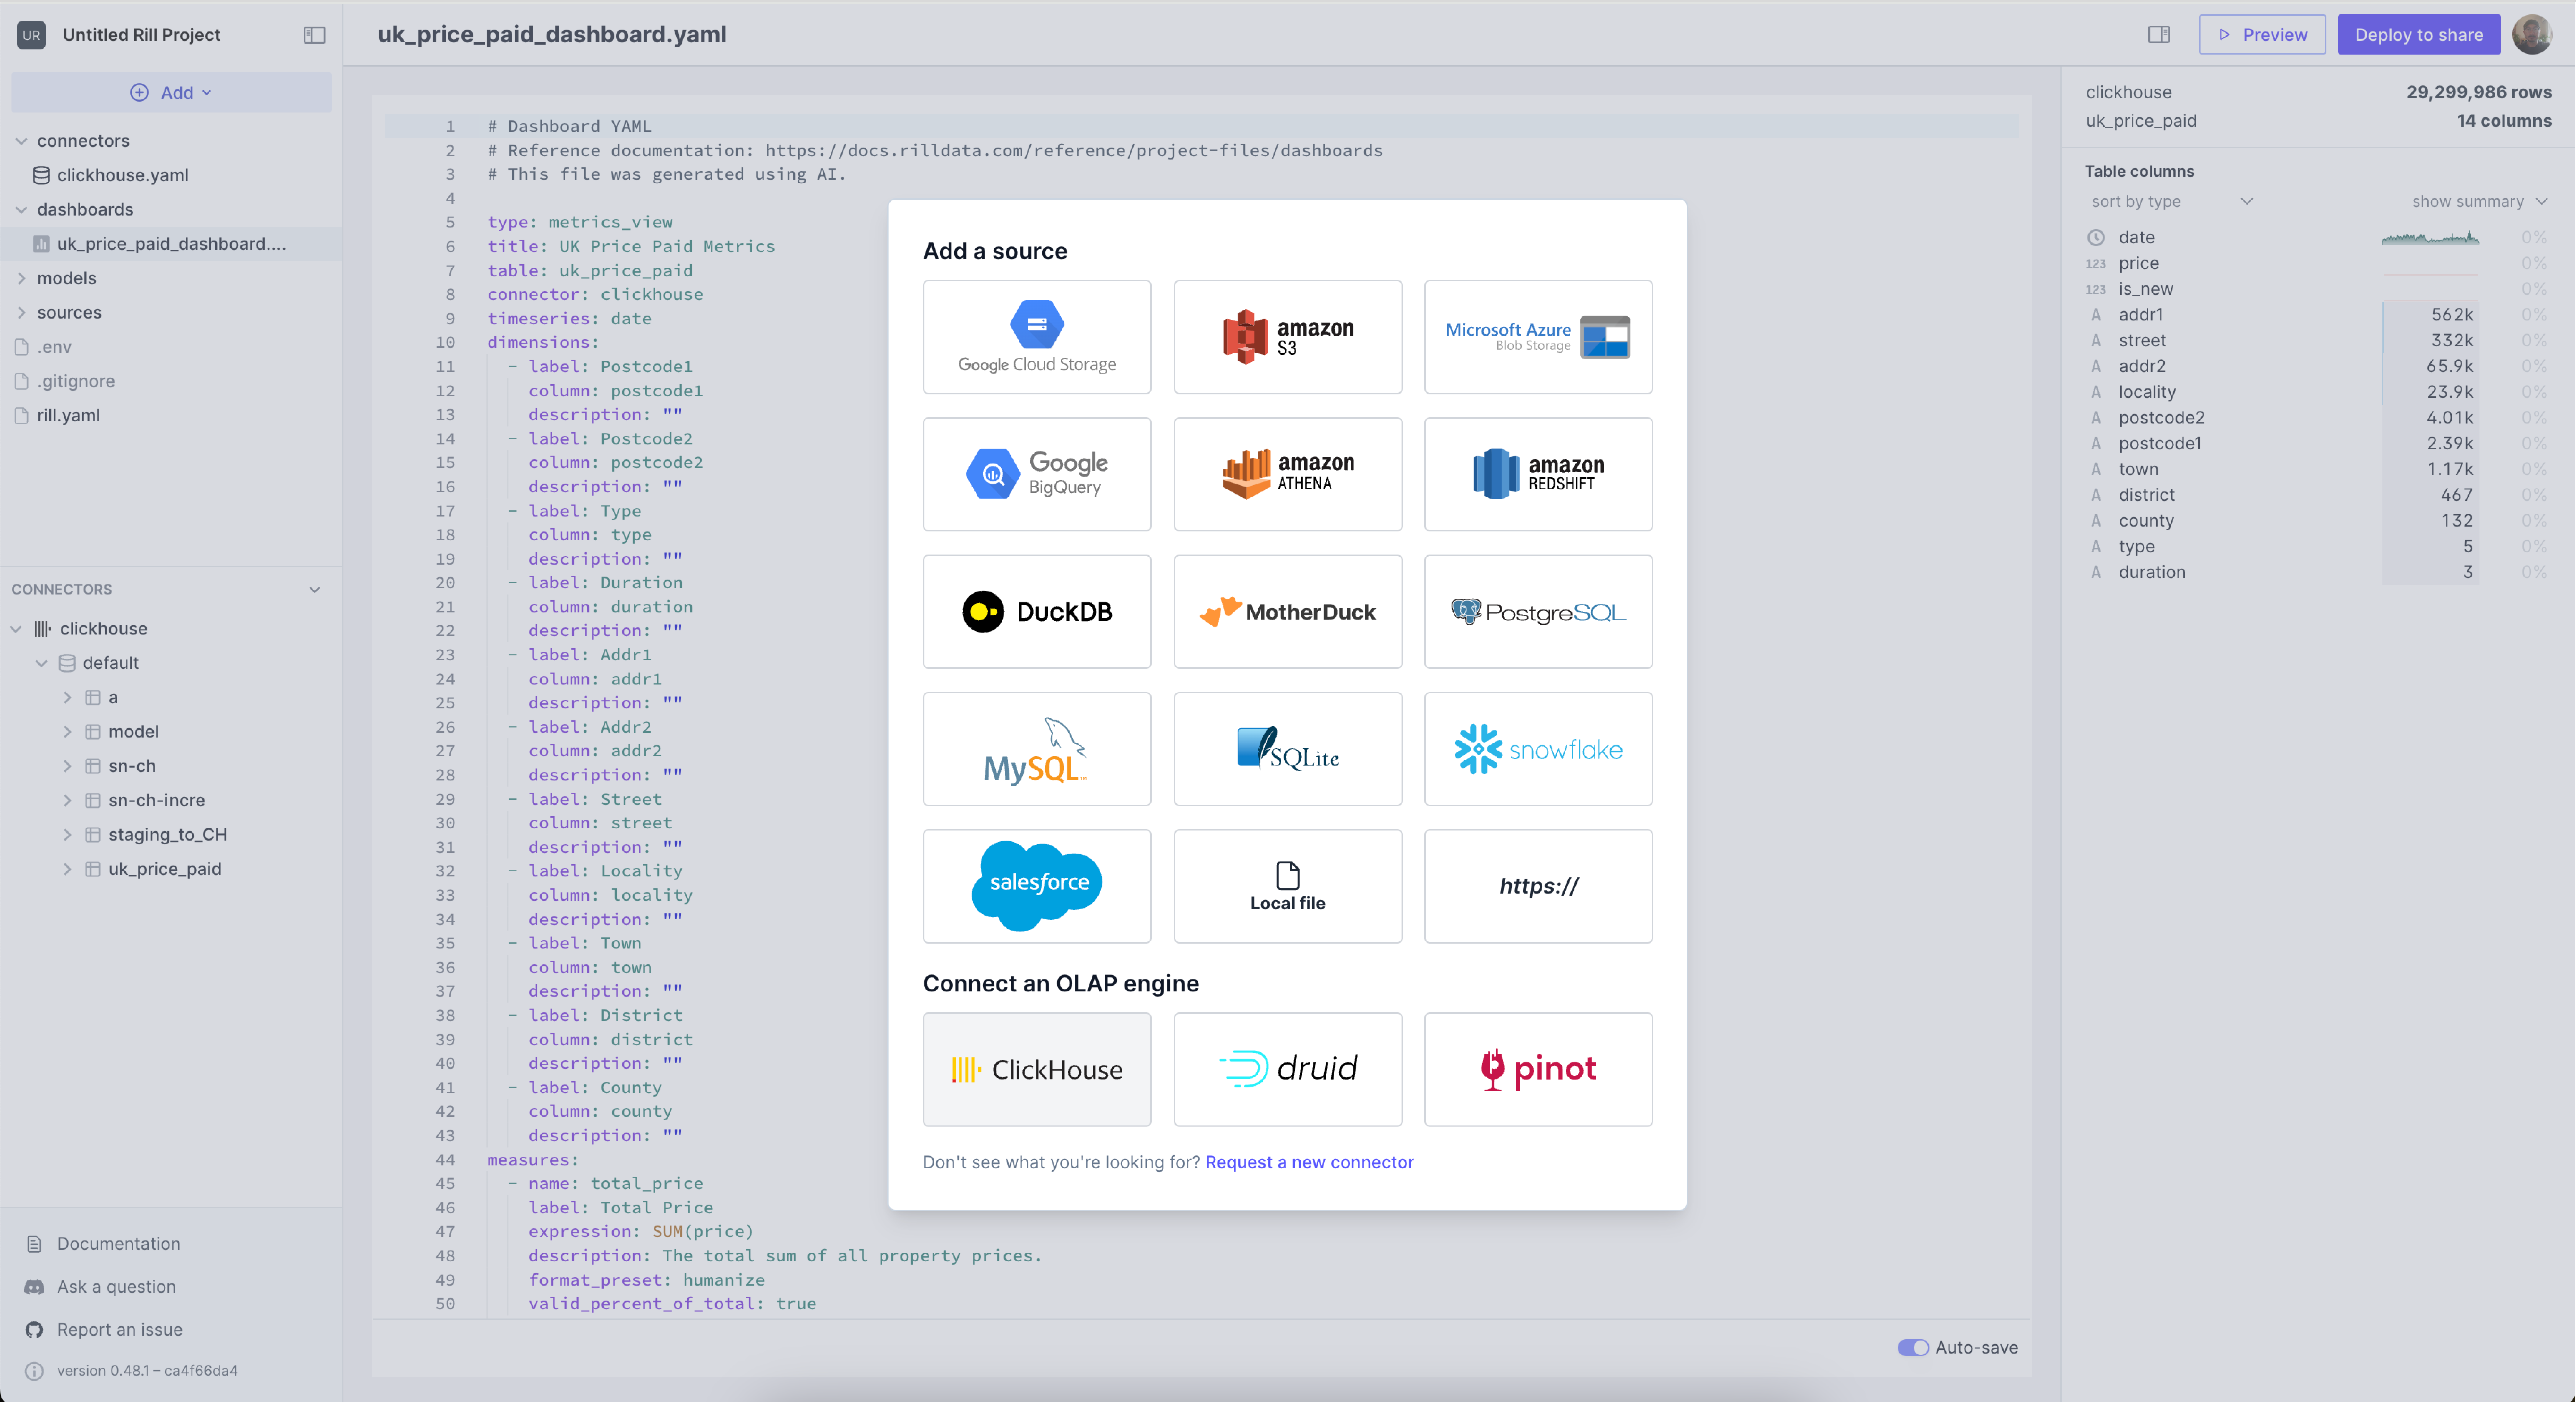
We can create the clickhouse connection by selection +Add Data > ClickHouse and fill in the components on the UI.

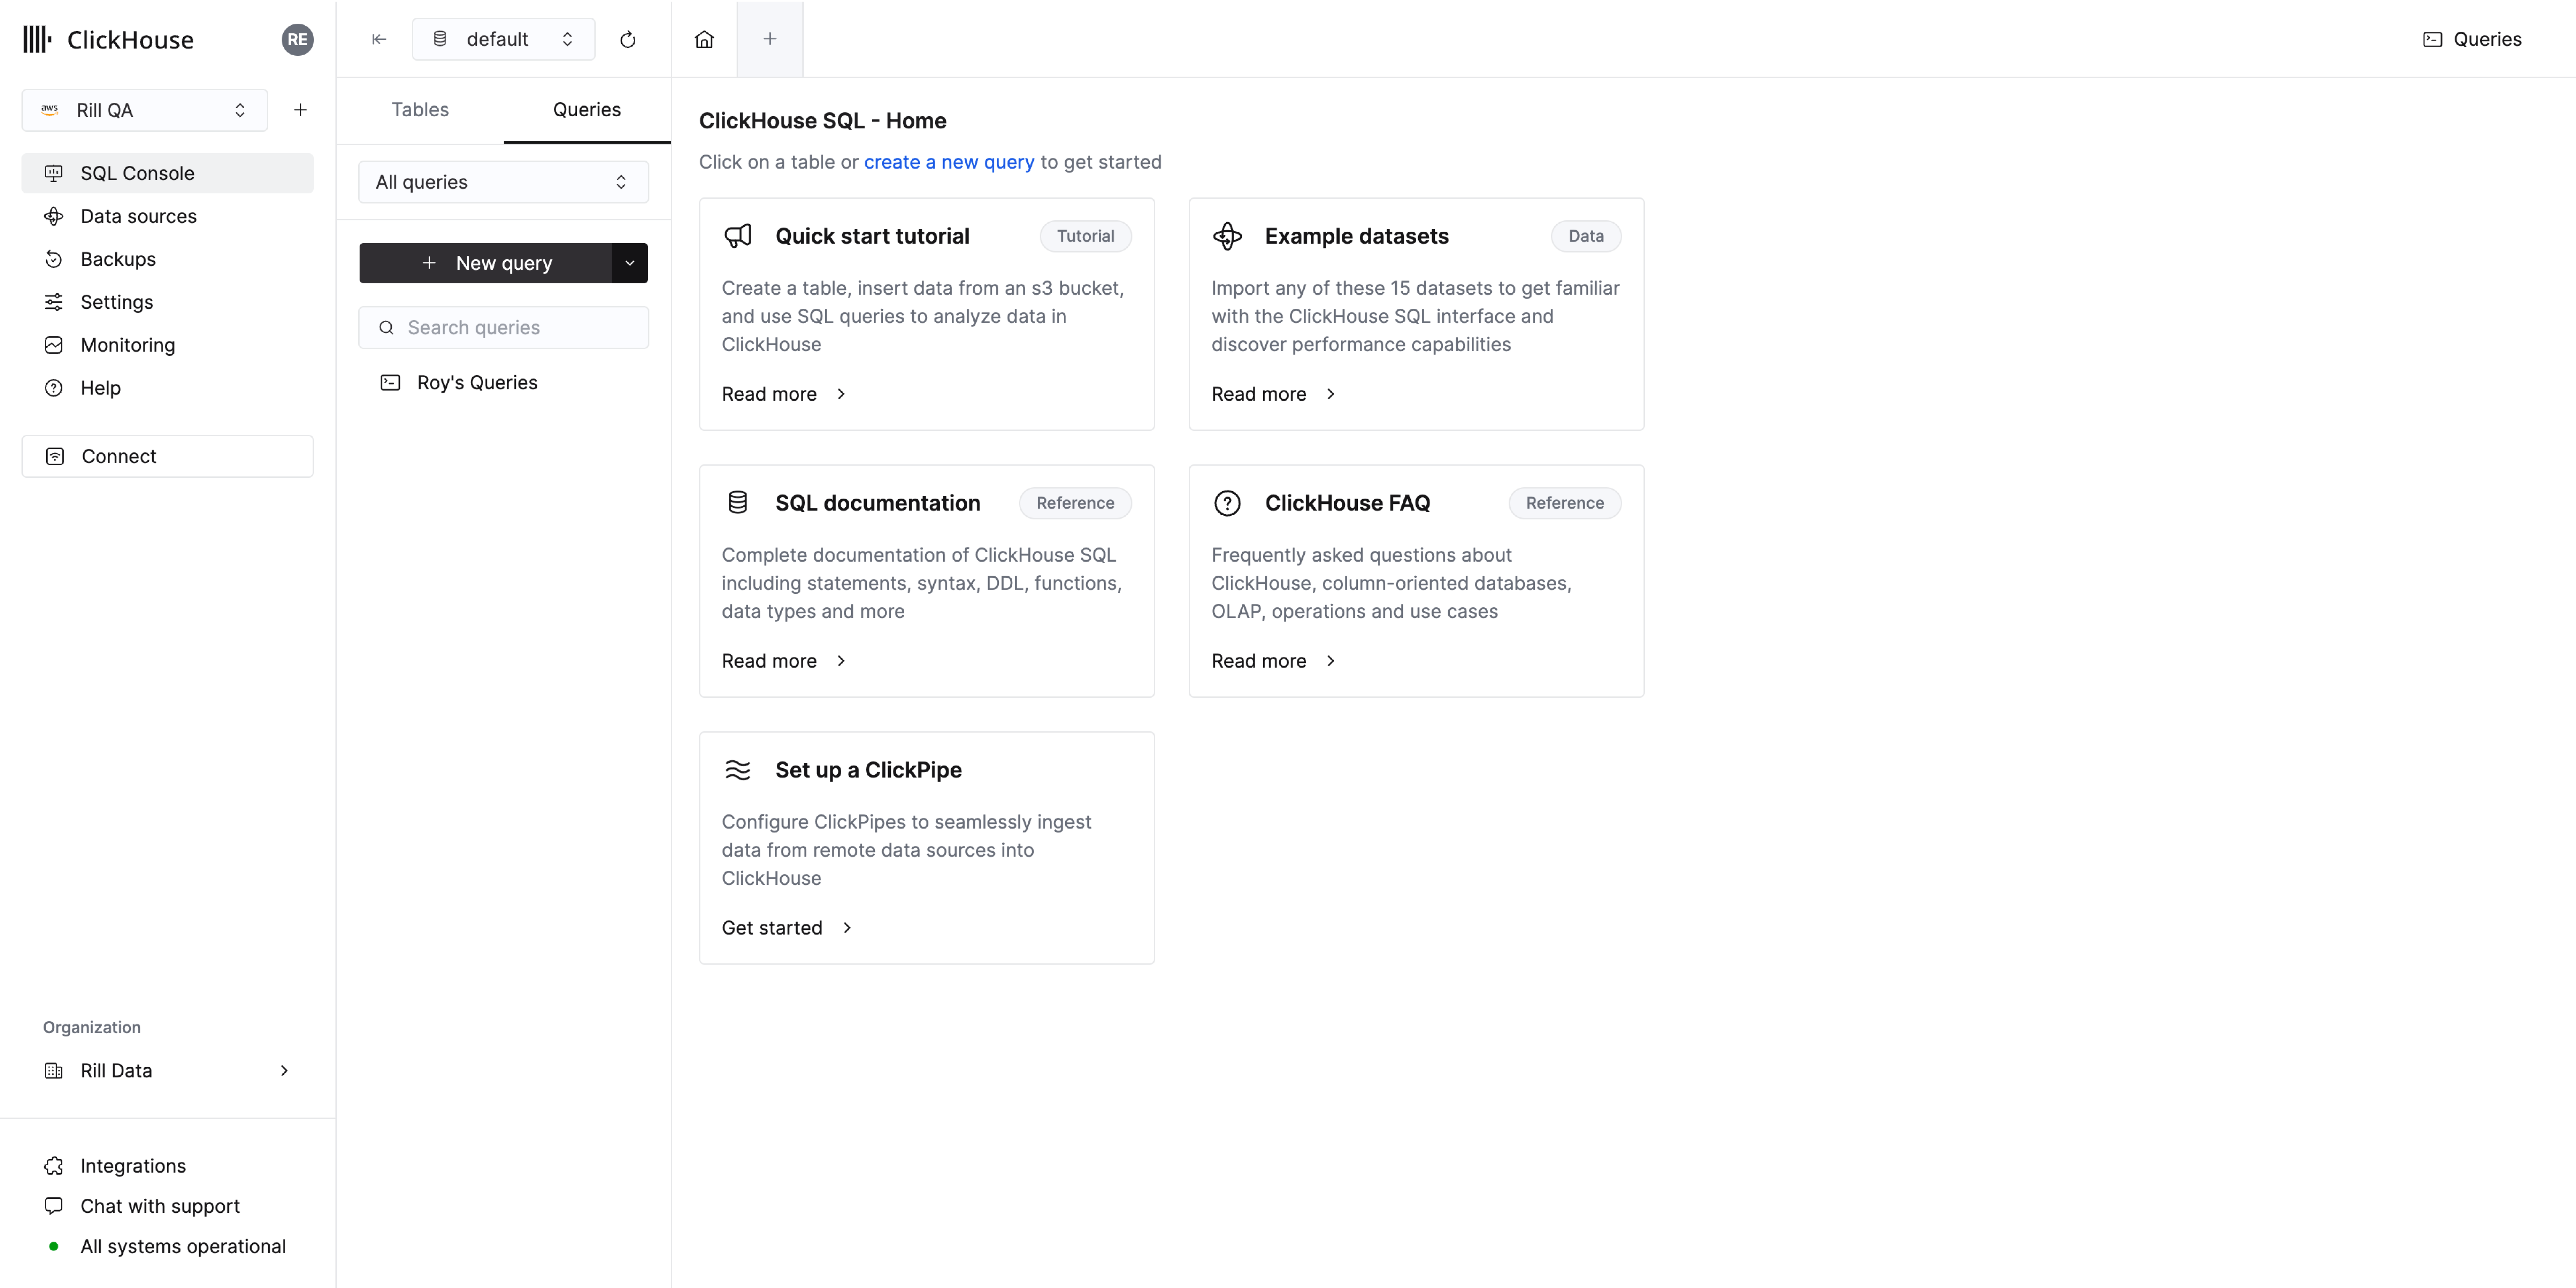
You can obtain the credentials from your ClickHouse Cloud account by clicking the Connect button in the left panel.:

"https://<hostname>:<port>?username=<username>&password=<password>&secure=true&skip_verify=true"
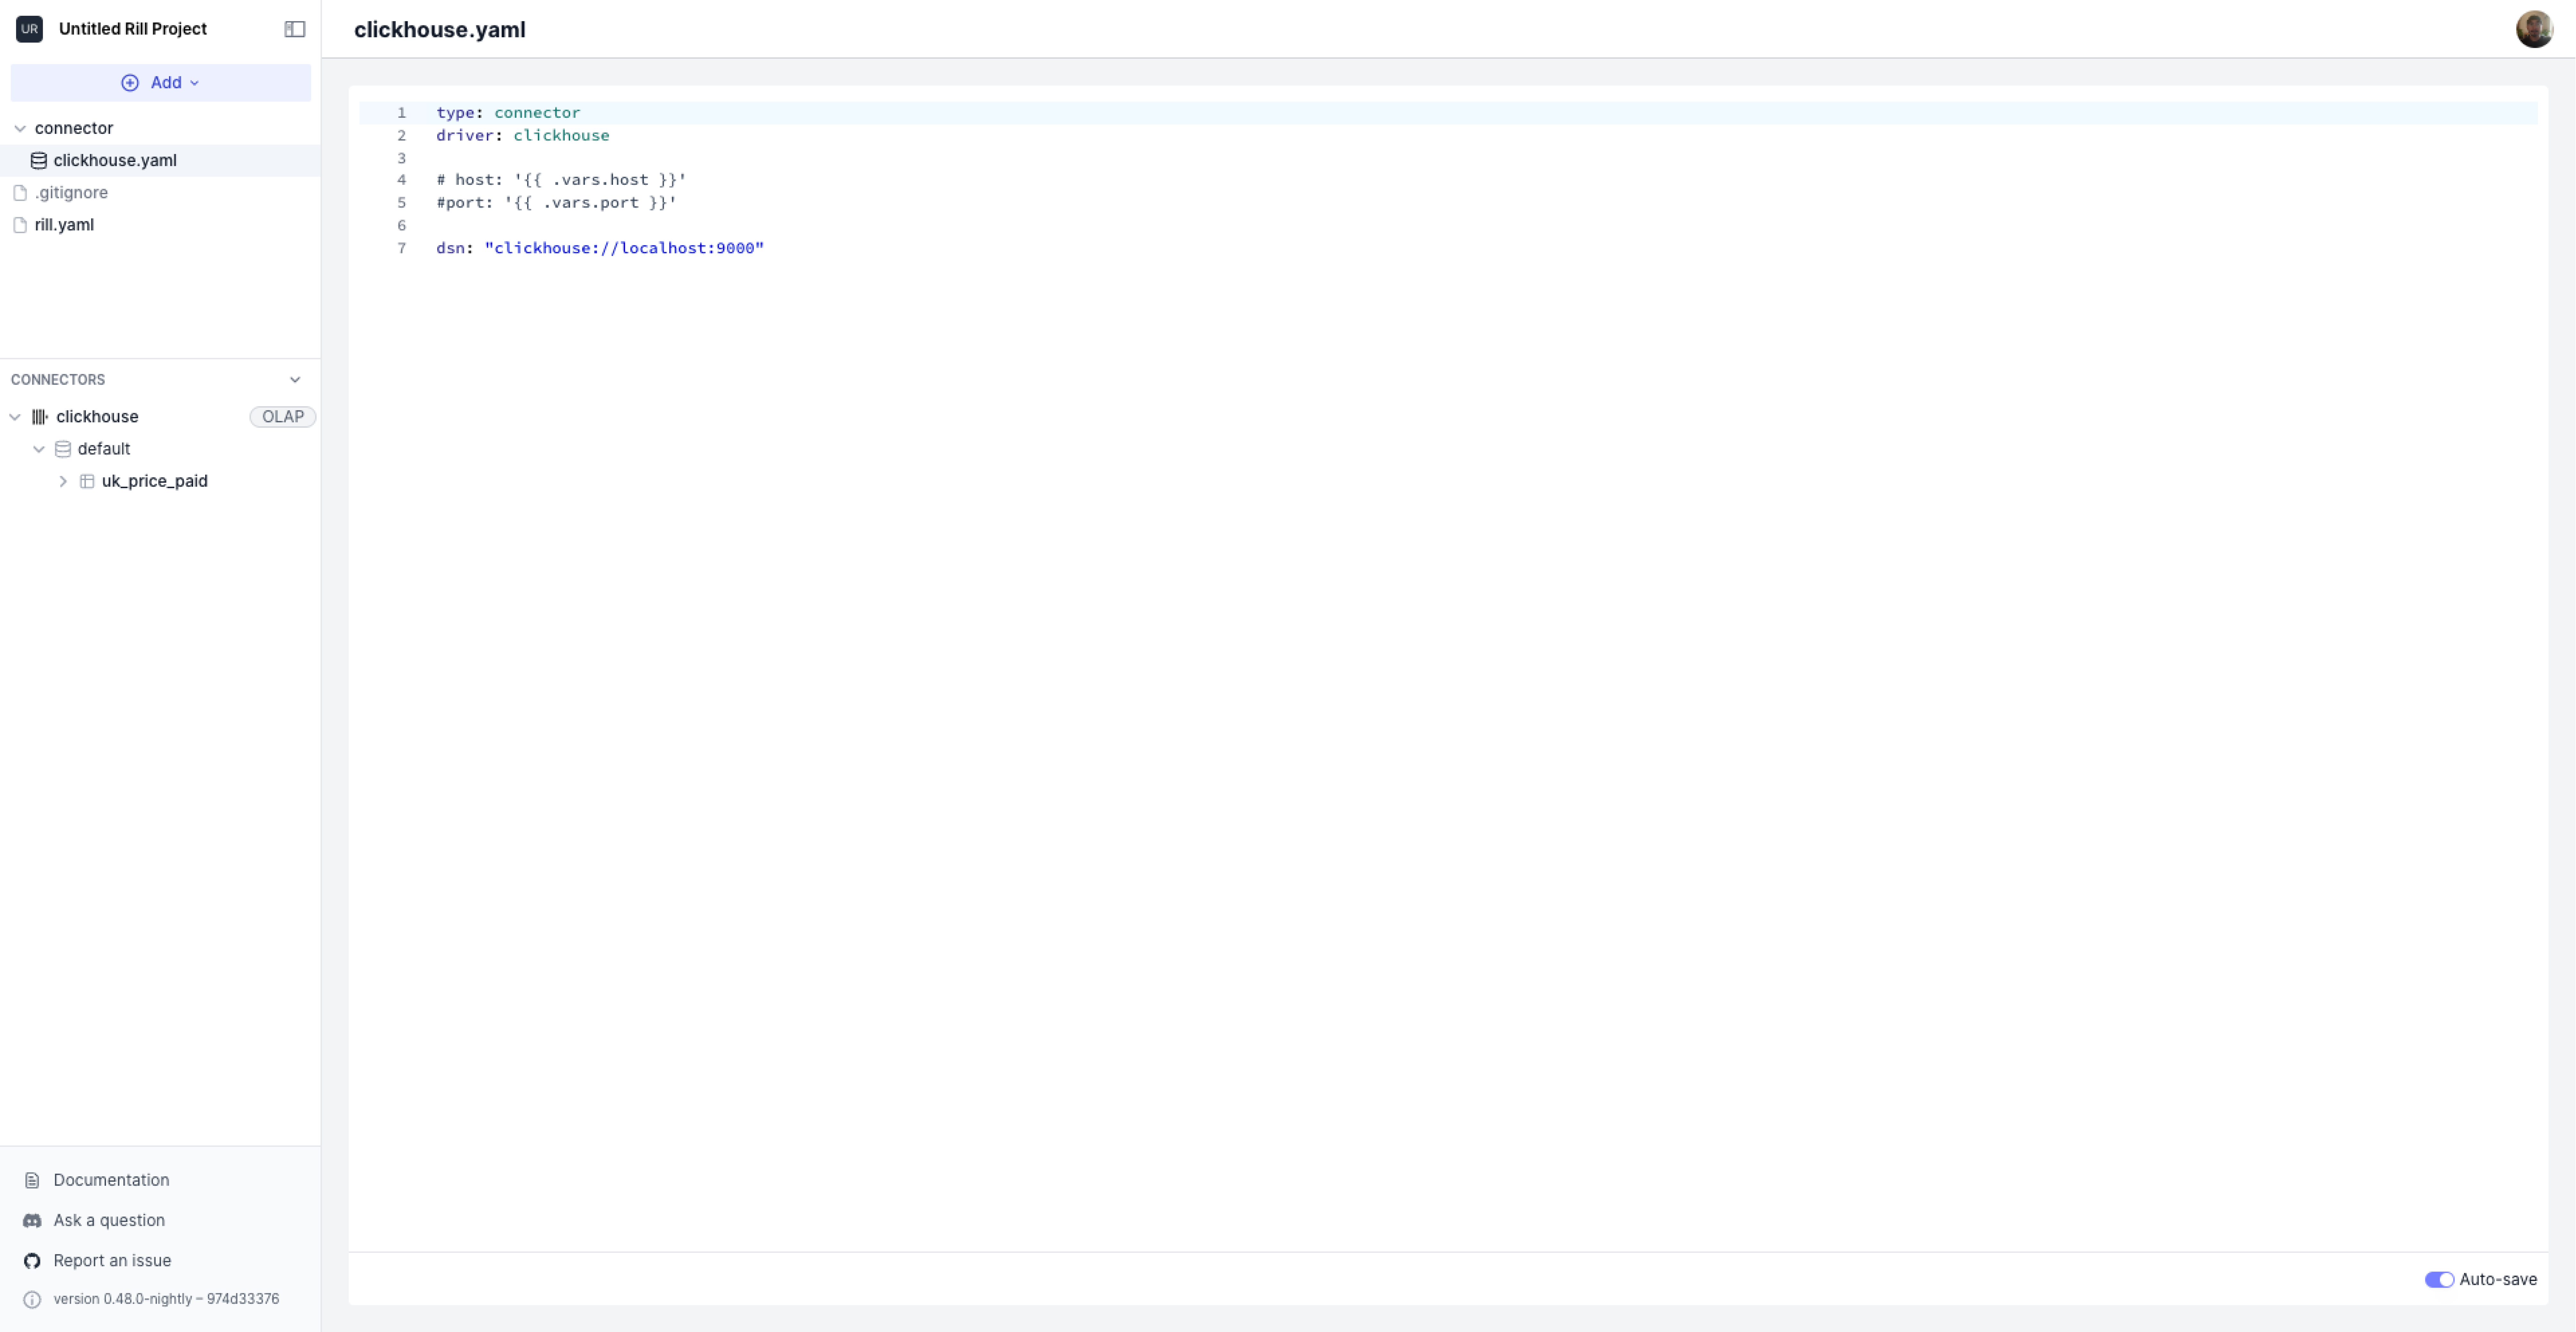
Once this is created, a clickhouse.yaml file will appear in the connectors folder and the following will be added to your rill.yaml.
compiler: rillv1

title: "Rill and ClickHouse Project"
olap_connector: clickhouse #automatically added
Example for a locally running ClickHouse server:
host: "localhost"
port: "9000"
or
dsn: "clickhouse://localhost:9000"
You can either add the credentials in plain text or dsn via the yaml file or add the credentials via the CLI.
Please see our documentation to find the DSN for your ClickHouse Cloud instance.
How to pass the credentials to Rill
There are a few way to define the credentials within Rill.
- via yaml
- via variables
- via .env
Please create a file called clickhouse.yaml and add the following contents.
type: connector
driver: clickhouse

host: "localhost"
port: "9000"
or
type: connector
driver: clickhouse

dsn: "clickhouse://localhost:9000"
Navigate back to the Terminal and stop the Rill process. You can run the following to add a variable and use this is within Rill.
rill start --env host='localhost' --env port='9000'
Afterwards, create a file called clickchouse.yaml and add the following contents:
type: connector
driver: clickhouse

host: '{{ .env.host }}'
port: '{{ .env.port }}'
There's a few way to generate the .env file. Making a source that requires credentials will automatically generate it. Else, you can create it using touch .env in the rill directory.
connector.clickhouse.host="localhost"
connector.clickhouse.port=9000
connector.clickhouse.username
connector.clickhouse.password
connector.clickhouse.ssl

or

connector.clickhouse.dsn="..."
If you connect to ClickHouse via the UI, this will automatically create a template with connectors/clickhouse.yaml as well as a reference of your DSN to the .env folder. This will automatically get pushed along with your project to Rill Cloud.
You should now be able to see the contents of your ClickHouse database in the left panel of your UI.
