Deploy Dashboards
Overview
Follow this tutorial to deploy an existing Rill project to Rill Cloud. Deploying a project makes its dashboards available online and enables you to invite others to access it. Benefits of deploying your project:
- Share dashboards with other users
- Leverage Rill Cloud capabililies like scheduled reports and alerts
- Embed Rill in other applications
The flow diagram below shows the steps needed for deploying an existing project.
Push the project to Github
Rill Cloud connects to a repository on Github containing a Rill project, and continuously deploys that project on every push. Rill Cloud has the ability to auto-create a Git repository on your behalf when first deploying your project or you have the option to manually create the Git repository yourself before deploying the project to Rill Cloud.
Check out our documentation on deploying a Rill project using Gitlab!
Automated repository creation
If you'd like Rill Cloud to automaticaly create the Git repository for a Rill project that you deploy, you can skip to the next step.
This assumes that the installed Github app in your organization has write access. If unsure, please check with your Github admin.
Manual repository creation
If you'd like to create the Git repository manually, the project must be on Github before you deploy it to Rill.
- If your project is not yet on Github, you can follow the steps on Github here to create a new repository and push your project files to it.
- If your project is already on Github, make sure you have appropriate permissions to grant access to it. If you're deploying a project controlled by someone else, you may need to fork or copy it to a repository in your account.
When Rill attempts to create a Git repository on your behalf, the new repository will mirror the name of your Rill project. If you'd like more flexibility and/or to give the Git repository a different name, you should create the repository manually.
Deploy to Rill Cloud
To deploy a project to Rill Cloud, from the directory containing your project, it's as simple as running:
rill deploy
The CLI will guide you through authenticating with Rill Cloud and granting appropriate access to your Rill project on Github.
Cloud datastores will typically require service keys to access data. Make sure to create the necessary key for your service account and then run rill env configure with the correct credentials. For more details, please refer to our connector documentation.
First deployment
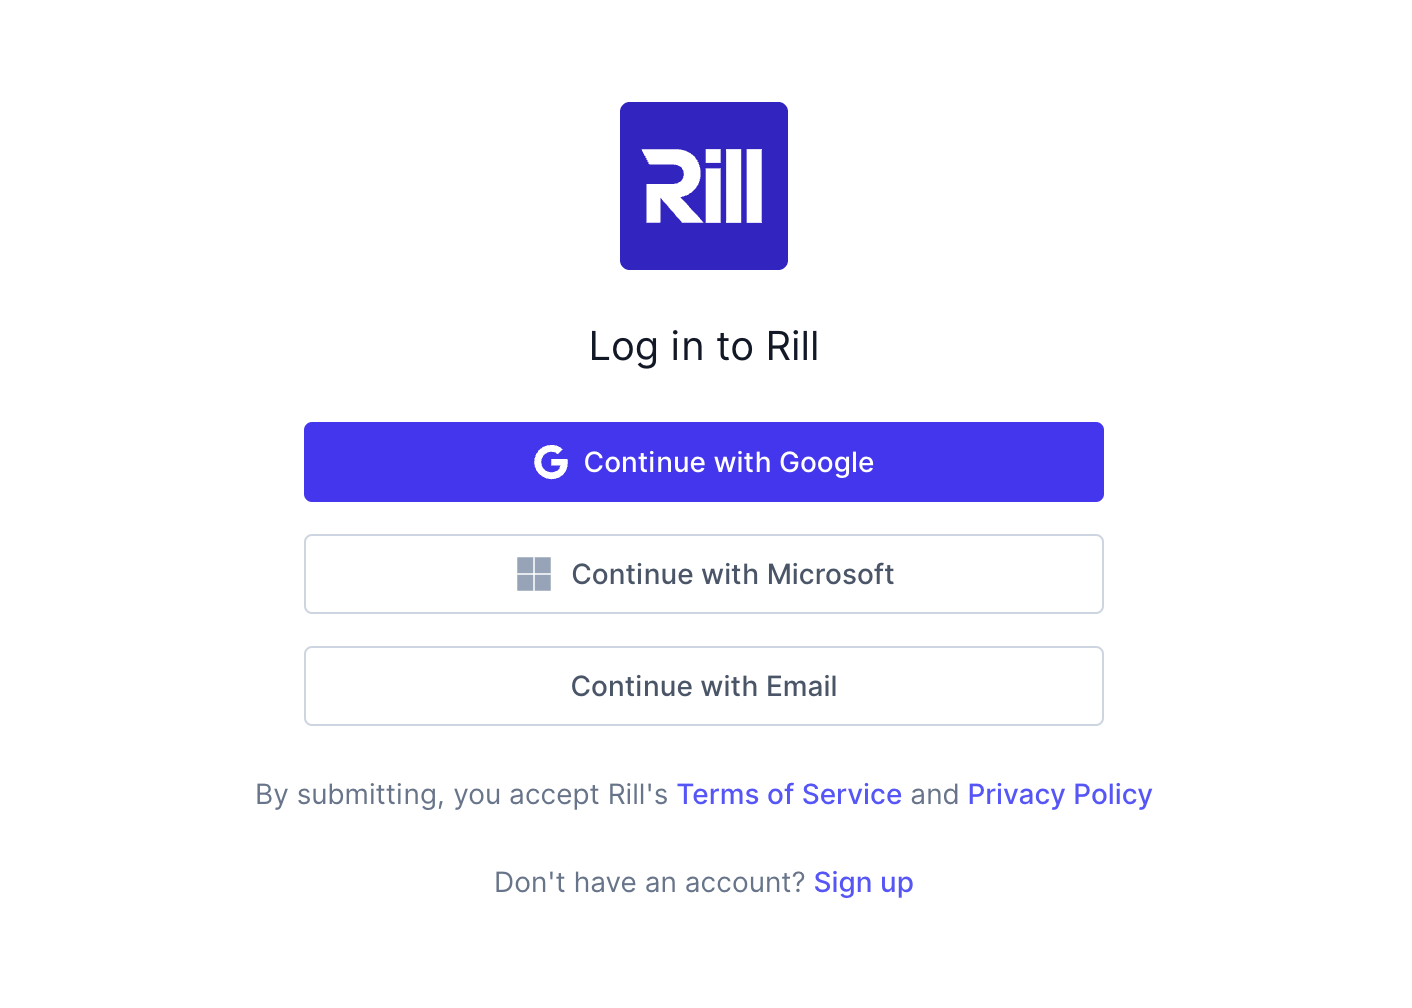
If this is your first deployment to Rill Cloud, you will get prompted to either sign up or log in (if you have an existing account on Rill Cloud). Proceed with the sign up and email verification process for new users or authorization process for existing users. As a new user, you can expect to see the following page:
After successfully signing in and/or authorizing the Rill CLI, you will get prompted to connect to Github when deploying your project.
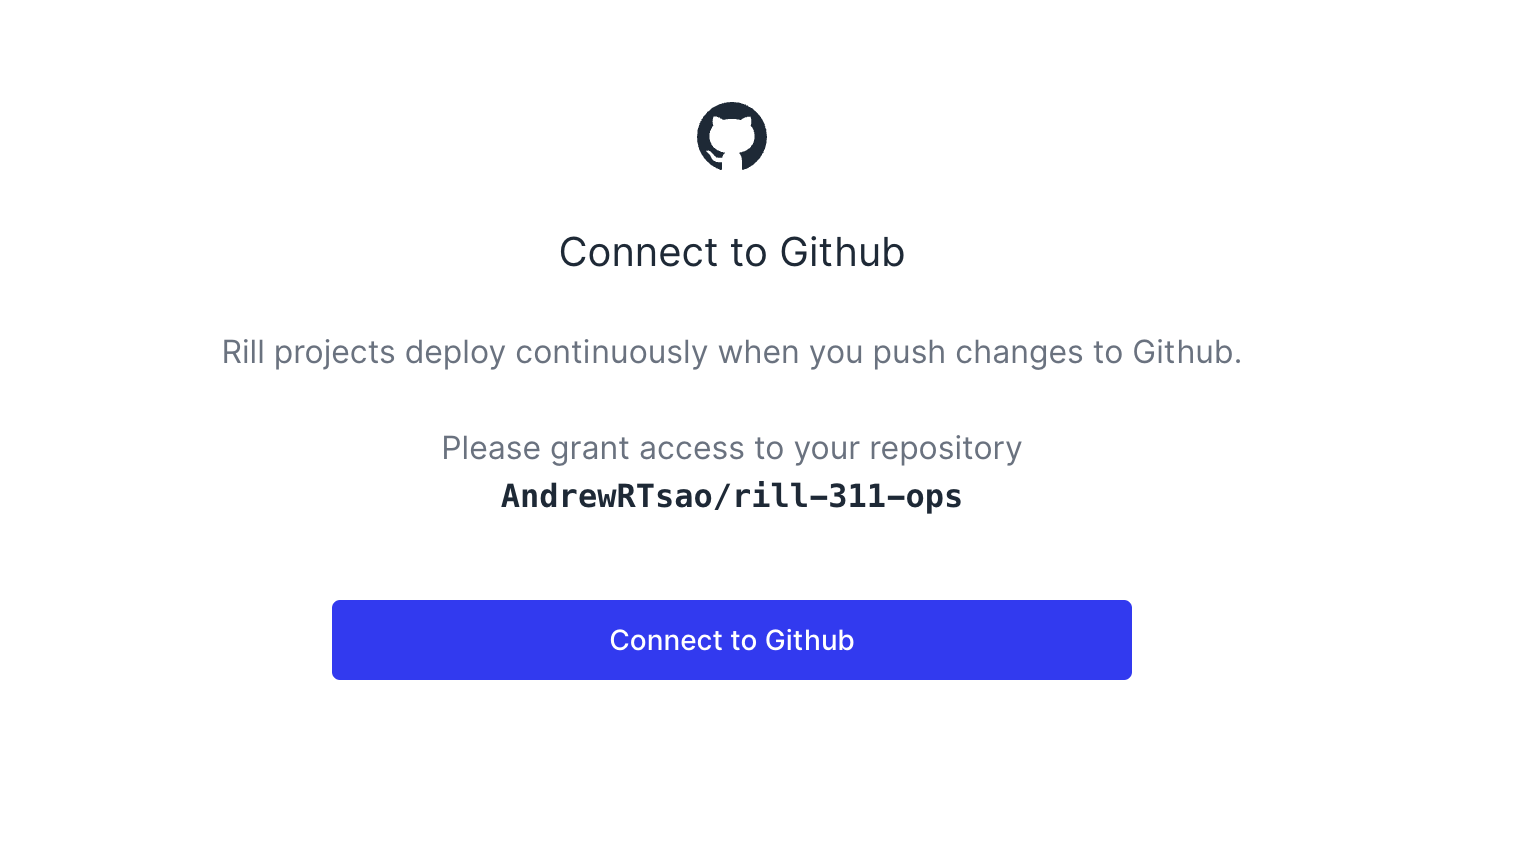
Make sure that you are selecting the correct Github organization when installing / connecting the Rill Cloud app. The organization should correspond to where you want your repositories to belong to when deploying Rill projects.
After connecting Rill Cloud to Github and selecting a default organization in the CLI, you should now be able to continuously deploy new projects and/or update existing projects. These projects, unless specified otherwise, will be deployed to your selected organization.
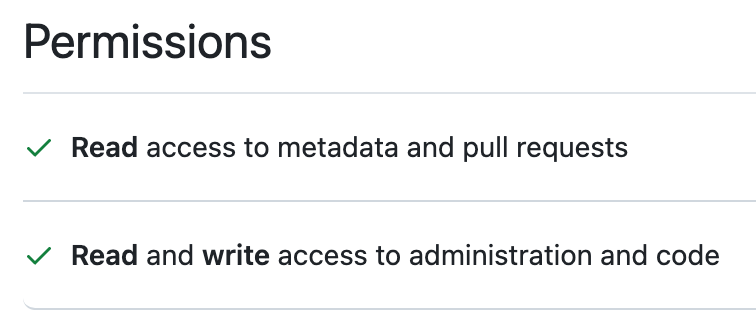
If you're not the admin of your Github organization, they will likely need to first install the Rill Cloud app in your organization before you can proceed with deploying a project. After the Rill Cloud app is installed, it should have the following privileges:
When deploying a project, Rill Cloud will first check whether there is a git remote present. If there is no git remote associated, you should get prompted whether you'd like Rill to create a Git repository on your behalf. If you enter Y, a new Git repository will be created and the project will be deployed.
Rill Cloud will automatically attempt to create a Git repository using the same name as your Rill project for auto-deployments. If a Git repository with the same name already exists, you should get prompted and receive a warning in the CLI.
Checking deployment status
Once the deployment has completed, the browser will open on your project's status page. Alternatively, you can check the project status from the command-line (or CLI) by running the following command:
rill project status
Projects can sometimes be in an error state for a variety of a reasons. A hard reset can often clear these issues.
To execute a hard reset of your project deployment, you can use the rill project reset command from the CLI.
Updating the deployment
Your project on Rill Cloud will automatically redeploy every time you git push changes to Github.
To manually refresh data sources without pushing code changes (or redeploying your project), run the following command:
rill project refresh
Change your production branch
By default, Rill deploys from the default branch of your Git repository. You can change this to any branch you want.
To deploy your project from a different branch, run the following command:
rill deploy --prod-branch [PROD-BRANCH]
Deploying from a branch other than main
A branch from which continuous deployment is setup can be changed while editing the project. To change the branch, run the following command:
rill project edit
Deploy from a monorepo
If your Rill project is in a sub-directory of a Git repository, use the --subpath option when creating your project:
rill deploy --subpath path/to/rill/project
Note that you must run rill deploy from the root of your Git repository, not the root of your Rill project.