Credential and Environmental Variable Management
Please review the documentation on Credential Managment and environmental variable / templating before getting started.
Managing Credentials and Variables on Rill Cloud

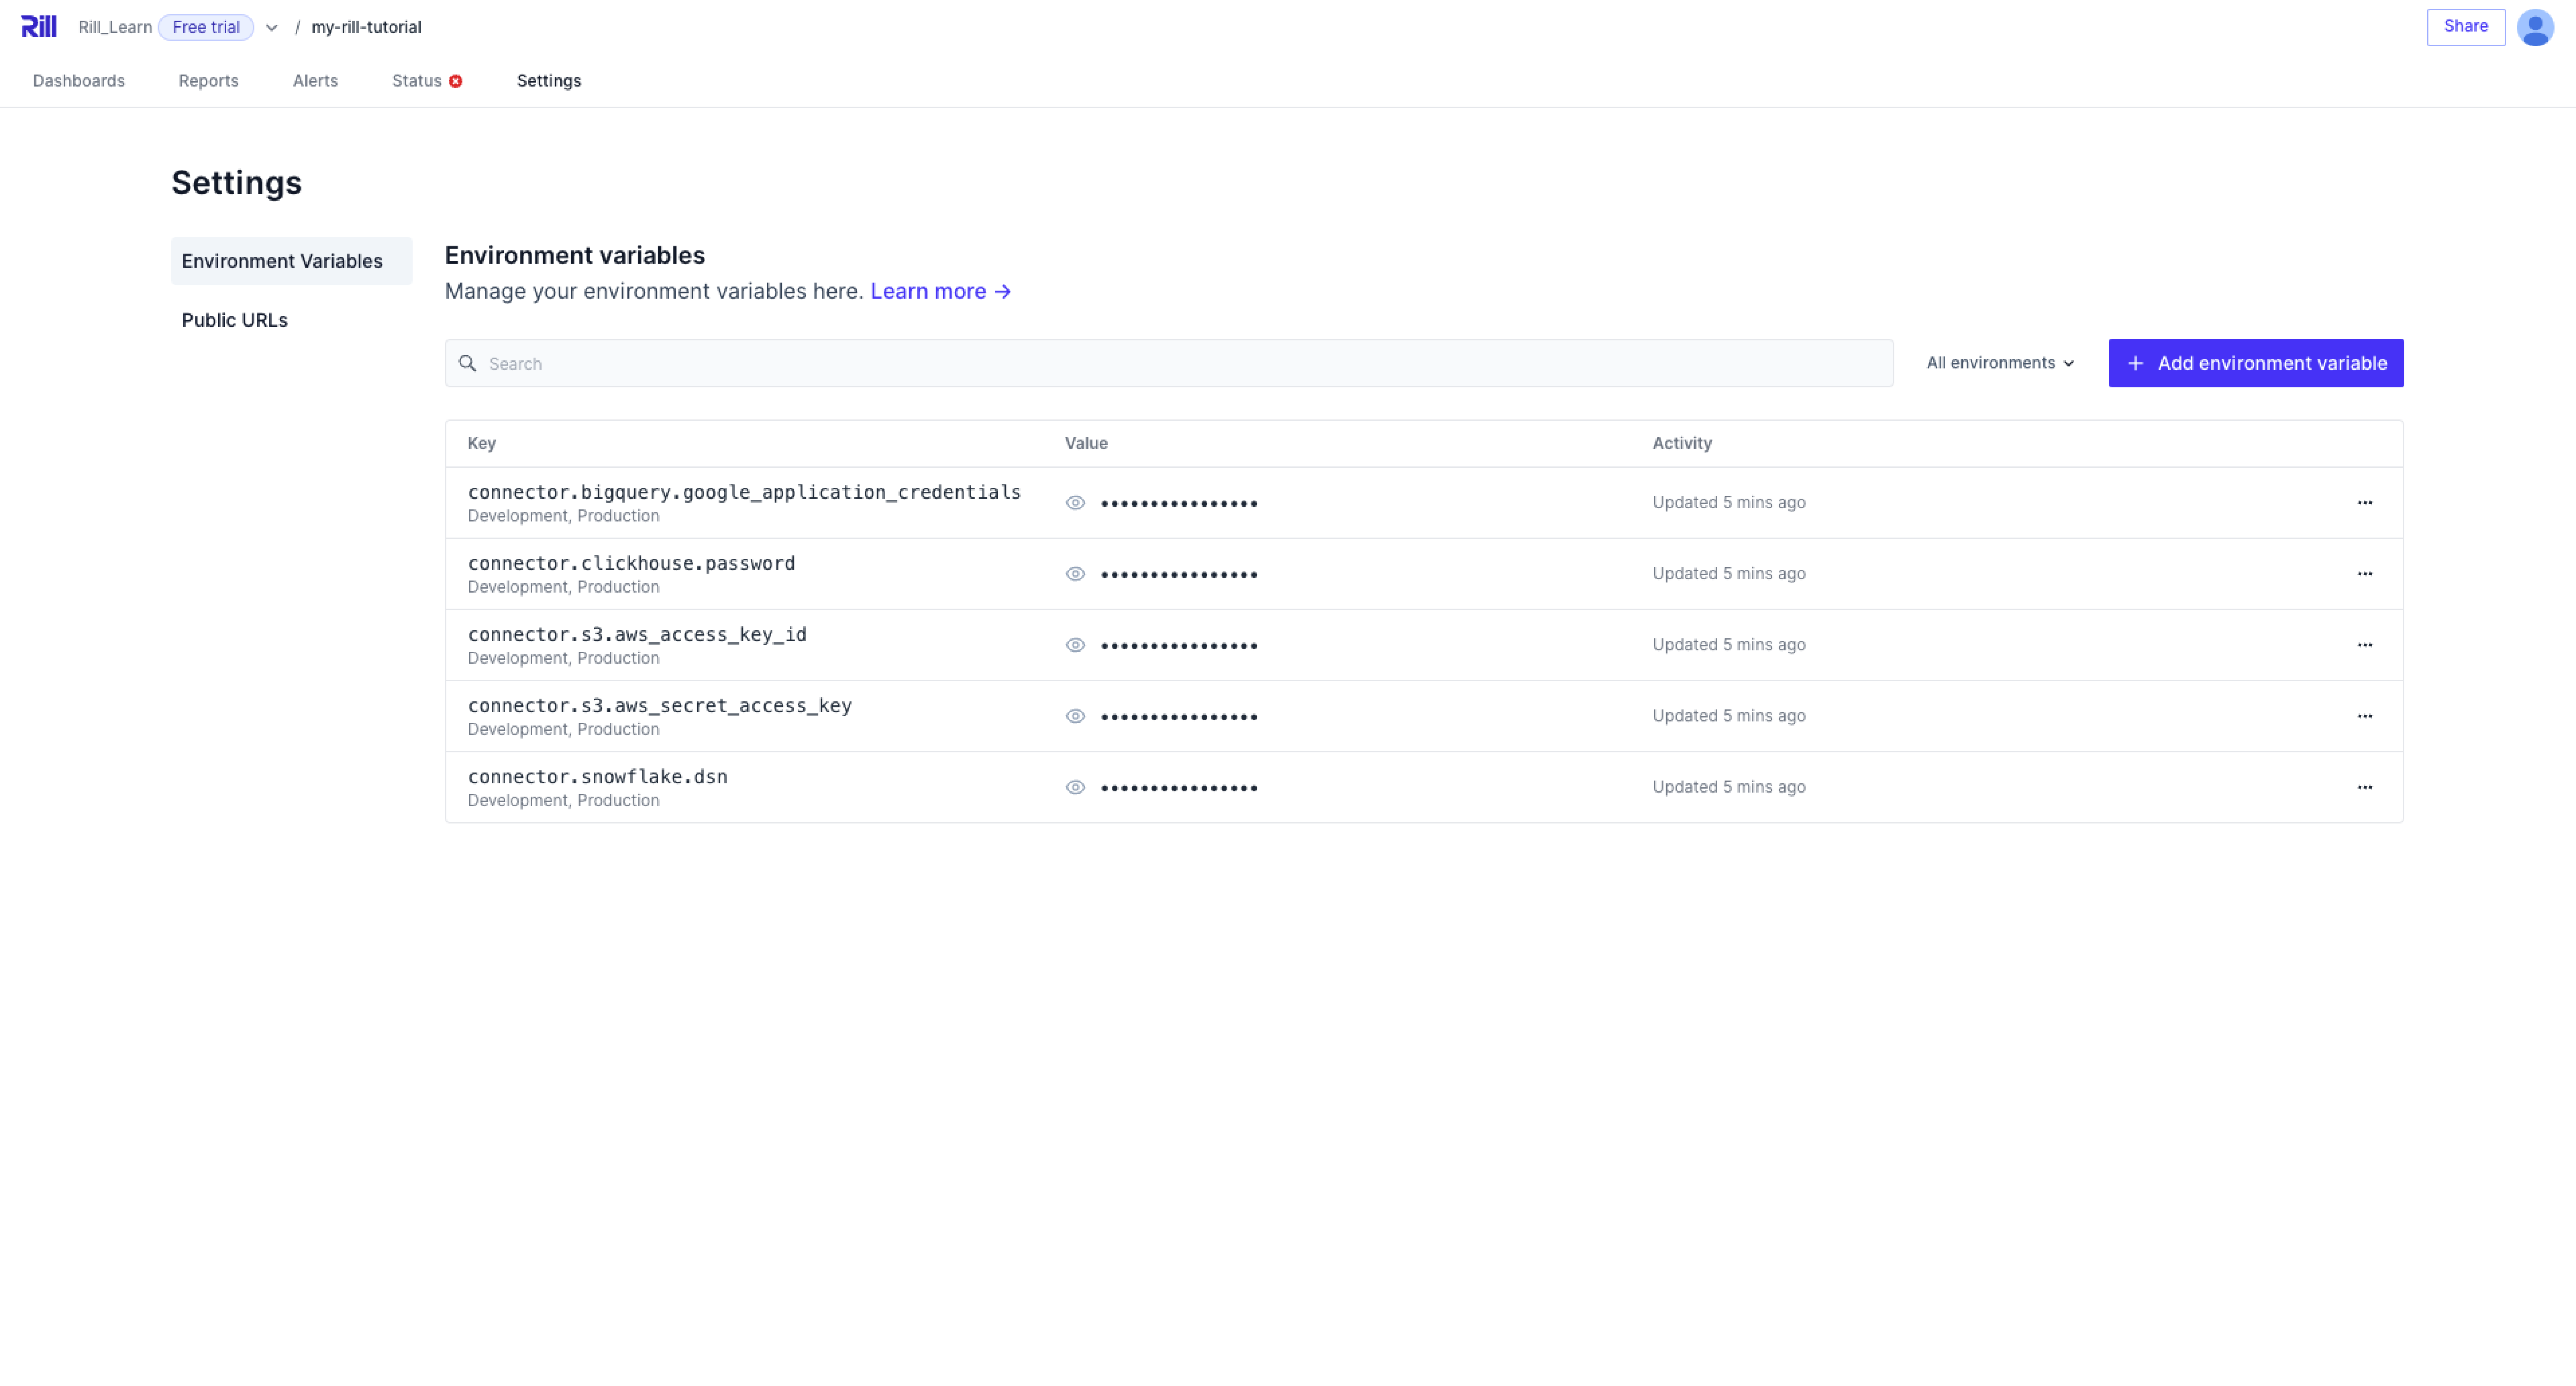
After deploying your initial credentials into Rill Cloud, you will be able to view them in the Settings page. Any credentials that are defined in the .env file in your project directory will be pushed on deployment to Rill Cloud. If you update the file locally, you will need to run rill env push to use it in Rill Cloud.
Credentials
There are various ways that you can set credentials in Rill. While each has its pros and cons, there are some key differences between the setup methods.
- via the CLI, utilizing
rill env - via an automatically created
.envfile when runningrill env pull - Manually defining variables in rill.yaml or the source.yaml
- Manually defining variables when running
rill start
For 1, 2, and 3, these methods will allow Rill Cloud to access the sources. However, method 3 will have your credential details in plaintext in GitHub (assuming you have synced to a GitHub Repository). Therefore we would recommend using method 1 and 2 when deploying your project to Rill Cloud. For local Development purposes, you can either pull the credentials from Rill Cloud (assuming its already been deployed) or by passing the key and value.
rill start --env key=value
Configuring Credentials via rill env configure
Assuming that you have worked through all of the courses up until now, when running the following command you will get prompted for the following:
rill env configure
Finish deploying your project by providing access to the connectors. Rill requires credentials for the following connectors:

 - bigquery (used by SQL-incremental-tutorial)
 - clickhouse (used by staging_to_CH)
 - gcs (used by commits and others)
 - s3 (used by staging_to_CH)
 - snowflake (used by staging_to_CH)
When running locally, Rill will pull environmental credentials or use locally defined credentials. However, when pushing to Rill Cloud, not all of these are available so you will need to define these.
Authenticating
Please refer to each connection's documentation on what is required to authenticate.
Configuring connector "bigquery":
For instructions on how to configure, see: https://docs.rilldata.com/reference/connectors/bigquery
? connector.bigquery.google_application_credentials (Enter path of file to load from.)

Configuring connector "clickhouse":
For instructions on how to configure, see: https://docs.rilldata.com/reference/olap-engines/clickhouse
? connector.clickhouse.host
? connector.clickhouse.port
? connector.clickhouse.username
? connector.clickhouse.password
? connector.clickhouse.ssl

Configuring connector "gcs":
For instructions on how to configure, see: https://docs.rilldata.com/reference/connectors/gcs
? connector.gcs.google_application_credentials (Enter path of file to load from.)

Configuring connector "s3":
For instructions on how to configure, see: https://docs.rilldata.com/reference/connectors/s3
? connector.s3.aws_access_key_id
? connector.s3.aws_secret_access_key

Configuring connector "snowflake":
? connector.snowflake.dsn
Once you have completed, this you can head back over to Rill Cloud and check if your sources are connecting successfully.
Making changes to the .env file.
This file is automatically generated when pulling your credentials from a Rill Cloud deployed project.
rill env pull
Added .env to .gitignore.
Updated .env file with cloud credentials from project "my-rill-tutorial".
When starting Rill Developer, you will see a new file .env that has all the defined credential in text. You can make any required changes to this file and update the credentials in Rill Cloud by running:
rill env push
This file is not saved in plain text in your GitHub Repository.
Environmental Variables
Similar to credentials, Environmental variables are usually set on Rill Developer and pushed to Rill Cloud when ready for deployment.
Configuring Environmental Variables
There are a few ways to use environmental variables locally.
- Defining key-value pairs in the
rill.yaml. - If already deployed to Rill Cloud, directly modifying the .env file or using
rill env set. - via the rill start command
rill start --env <var_name>=<value>
Pushing to Rill Cloud
Depending on the method used during development, pushing to Rill Cloud can be as easy as:
- Updating the Rill Deployment (if you added the variables to
rill.yaml) - Pushing the .env file after making changes by running
rill env push. - Setting the rill env variables by running
rill env set <key> <value>
Each number corresponds to how you configured the environmental variable above.