User Management
How to manage Users?
Maintaining user access is a vital role for administrators. There are a few key concepts within Rill that should be read and understood before proceeding:
Create a User
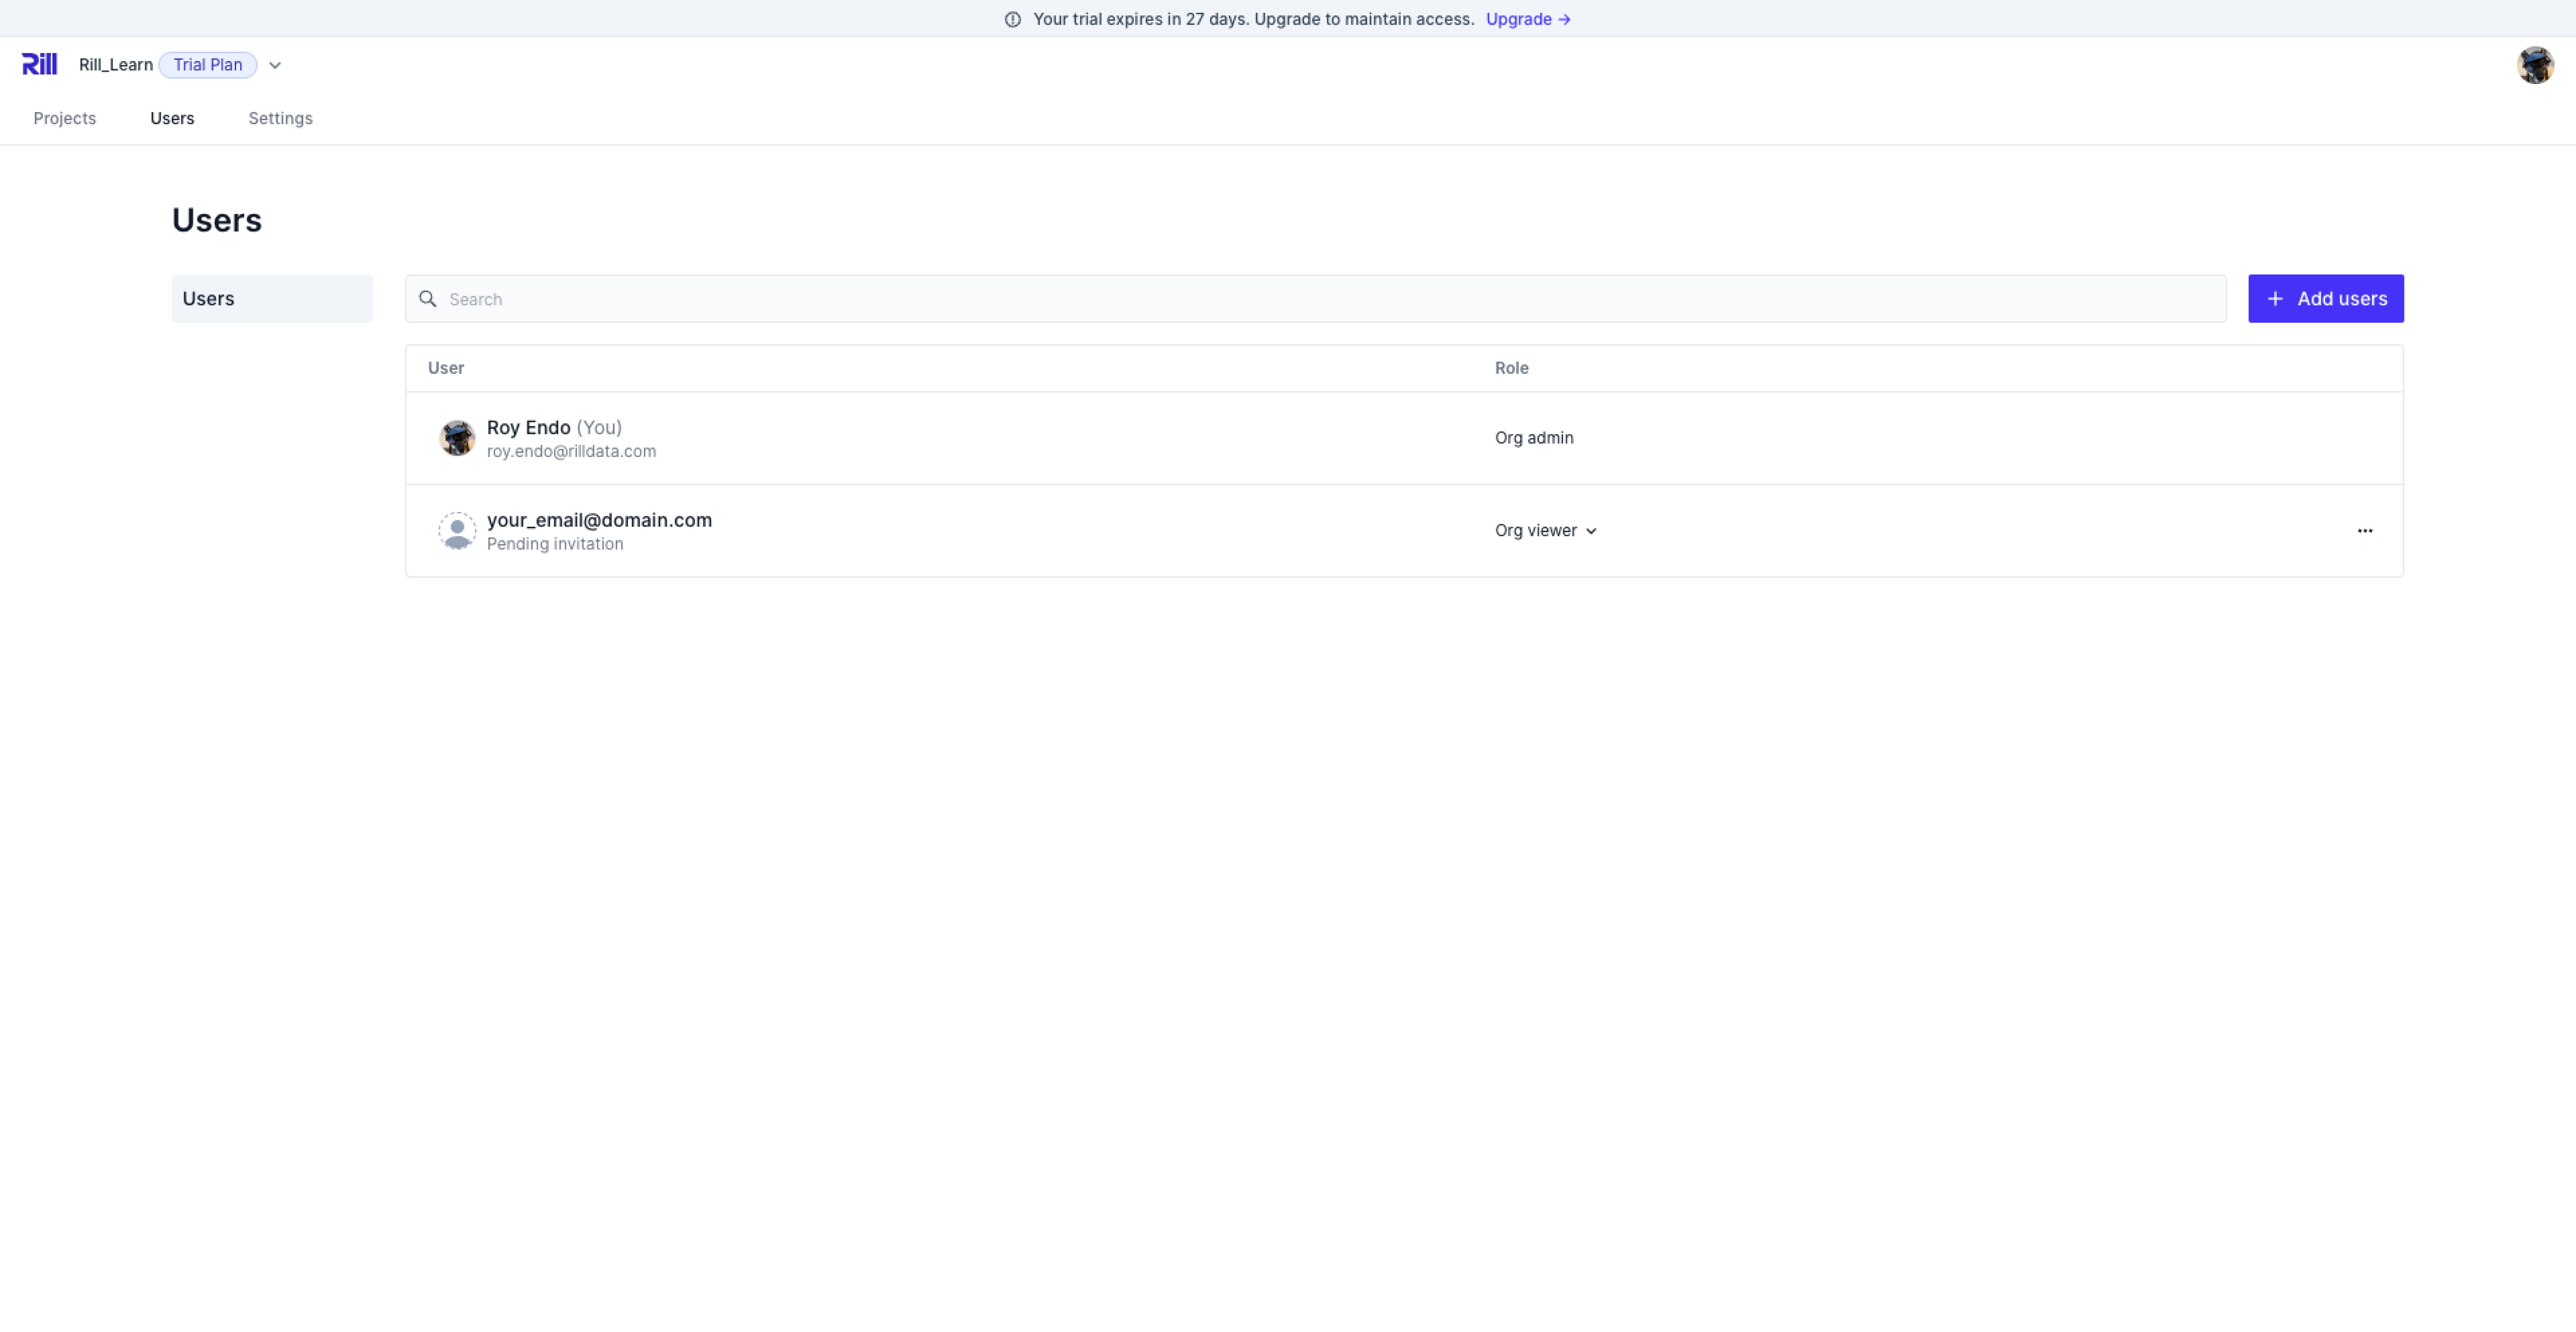
Managing Users via Rill Cloud��
There are two ways that a user can get access to Rill Cloud.
Organization invites from Admin From the Users page on the Organization page, you can inivte a user to the organization. Please note that organization viewers have access to view all projects.

Project level access requests
Please refer to the documentation how a user can request access to project, or how an admin can invite a user to the project.
Managing Users via the CLI
For our friends who'd rather use the CLI, there are two commands that you will need to use for user management in rill is user and usergroup.
Let's see the Rill commands
Usage:
  rill user [command]

Available Commands:
  list        List
  add         Add
  remove      Remove
  set-role    Set Role
  whitelist   Whitelist access by email domain

Global Flags:
      --api-token string   Token for authenticating with the cloud API
      --format string      Output format (options: "human", "json", "csv") (default "human")
  -h, --help               Print usage
      --interactive        Prompt for missing required parameters (default true)
Adding a User:
When a user is requesting access to the project via the UI, this adds the user at the project level. In order to add a user to the organization, you will need to do so via the CLI. For more information on what the difference is between the permission granted, please refer to our documentation.
rill user add
You can add a user to a project by adding the --project flag.
rill user add --project my-rill-tutorial
Whether the user was invited to the project via the UI or via the CLI, you can see the user by running the following.
 rill user list --project my-rill-tutorial
  NAME       EMAIL                       ROLE     CREATED ON            UPDATED ON
 ---------- --------------------------- --------- --------------------- ---------------------
  Roy Endo   <your_email>@domain.com     viewer   2024-05-16 01:08:14   2024-08-21 08:52:19
  Roy Endo   roy.endo@rilldata.com       admin    2024-07-02 23:33:57   2024-08-15 16:58:08
However, you'll notice that if you list the organizational users, the above user is not shown, why?
rill user list
  NAME       EMAIL                   ROLE    CREATED ON            UPDATED ON
 ---------- ----------------------- ------- --------------------- ---------------------
  Roy Endo   roy.endo@rilldata.com   admin   2024-07-02 23:33:57   2024-08-15 16:58:08
Within Rill, there are three levels where a user may gain access:
- Organization
- Project-level
- User group
When listing users in the CLI, you need to ensure that you are listing at the correct level.
Listing Users
Depending on the command flags, you can set the level of which you list out your users.
Organization Users
No flags on the command defaults to listing organization users. Note that this does not list out all users.
rill user list
  NAME       EMAIL                   ROLE    CREATED ON            UPDATED ON
 ---------- ----------------------- ------- --------------------- ---------------------
  Roy Endo   roy.endo@rilldata.com   admin   2024-07-03 15:33:57   2024-09-05 08:05:50
  ...
Project Users
By adding the flag --project <your_project>, you can see the project users.
 rill user list --project my-rill-tutorial
  NAME       EMAIL                       ROLE     CREATED ON            UPDATED ON
 ---------- --------------------------- --------- --------------------- ---------------------
  Roy Endo   <your_email>@domain.com     viewer   2024-05-16 01:08:14   2024-08-21 08:52:19
  Roy Endo   roy.endo@rilldata.com       admin    2024-07-02 23:33:57   2024-08-15 16:58:08
User group members
Likewise, using the --group <group_name> flag, you can list the user group users.
rill user list --group tutorial-admin
No members found
In summary:
- When running any command without a
--projectflag, this will add, list, remove at the organization level. - In order to add, list, remove at the project level, you need to add the
--projectflag.
Next let's review user groups.