1. Source to Dashboard on Rill Cloud in 6 Steps
You need to install Rill.
curl https://rill.sh | sh
The goal of this six part tutorial is to get started with Rill and deploy your project to Rill Cloud. Upon deployment, your 30 day trial will start. Each course will build upon the previous and allow you to have a fully functioning project with many of our advanced features. This tutorial can be used in tandem with our documentation to ensure up to date information.
Start Rill Developer
rill start my-rill-tutorial
While we support macOS and Linux, you can also get Rill Developer running on Windows machine via WSL. If you are having any issues installing and/or starting Rill, please see our installation page.
If running Rill on a new directory, you'll be prompted with the following, type "Y" and press enter.
? Rill will create project files in "~/Desktop/GitHub". Do you want to continue? (Y/n)
Rill Developer will automatically open in your default browser. If not, you can access it via the following URL:
localhost:9009
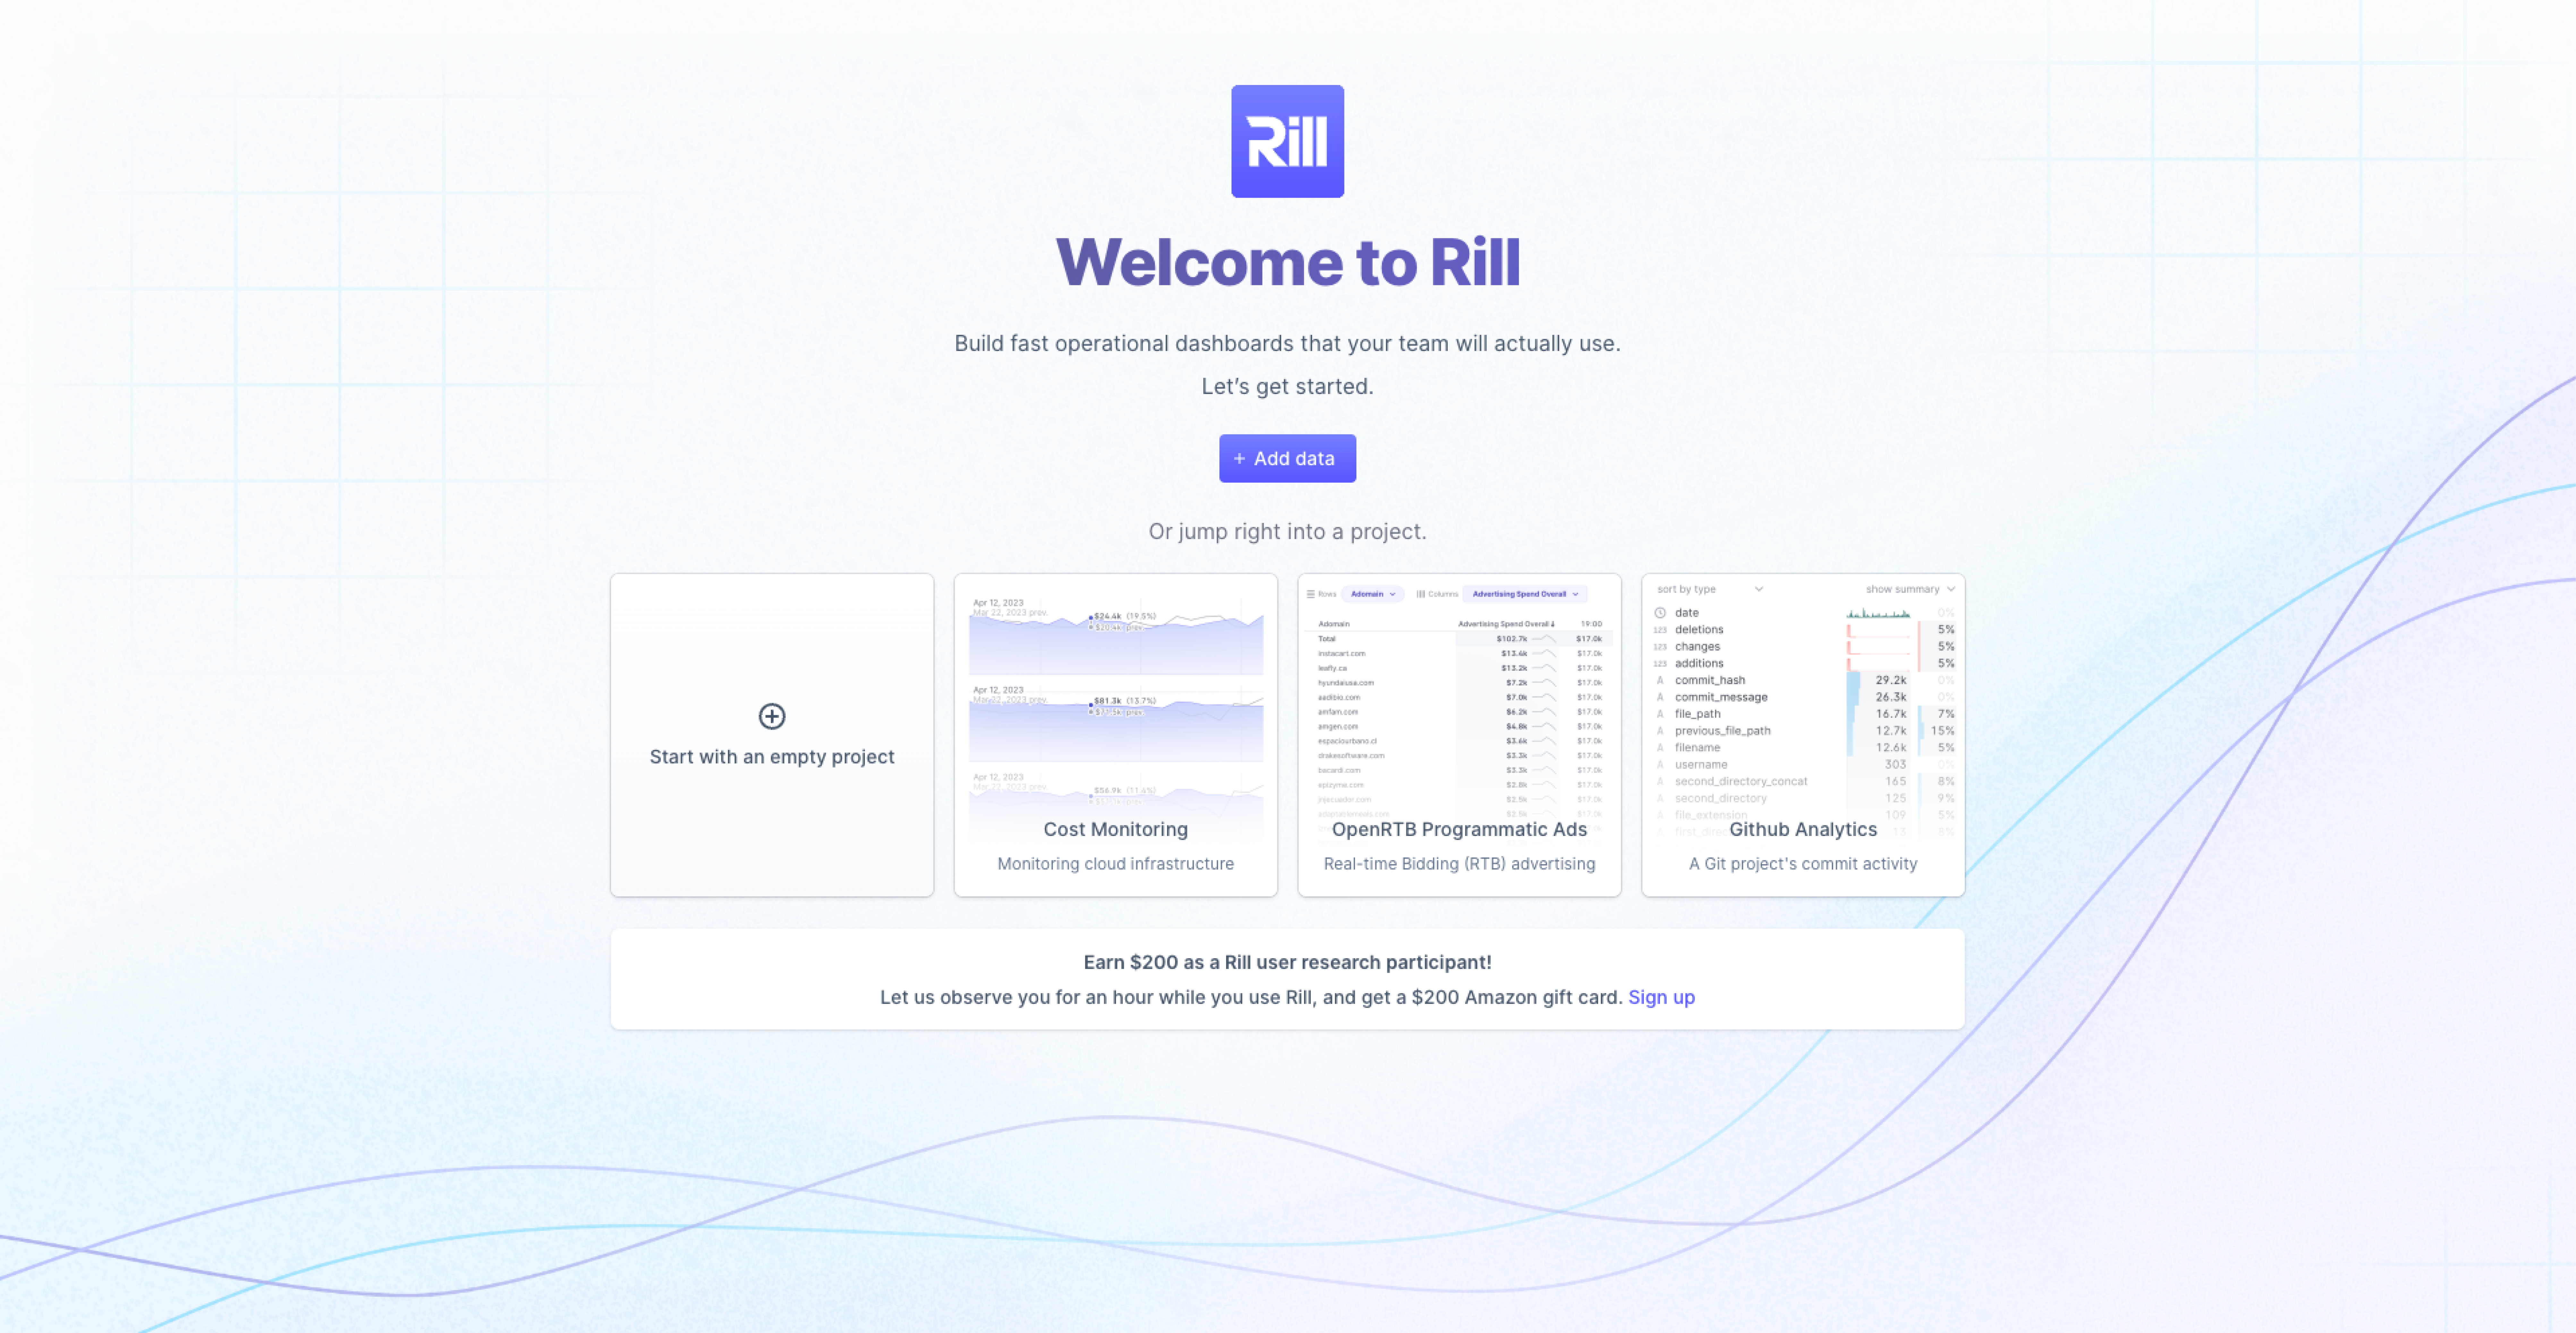
Welcome to Rill Developer!
Rill Developer is used to develop your Rill project as editing in Rill Cloud is not yet available. In Rill Developer, you will create connections to your source files, do some last mile ETL, define metrics in the metrics layer and finally create a dashboard. For more details on the differences between Rill Developer and Rill Cloud, see our documention, here.

Let's go ahead and select Start with an empty project. If you want to skip the basics, you can select one of the quick start projects and refer to our Quick Start Guide for the corresponding project. Note we have many more projects available in our public repo, here.
Where am I in the terminal?
You can use the pwd command to see which directory in the terminal you are.
If this is not where you'd like to make the directory use the cd command to change directories.