Clone a Project - Quick Start
This guide will help you get started with an existing Rill project by cloning it from a repository and setting it up locally.
Prerequisites
Before you begin, make sure you have:
- Rill CLI installed (Installation Guide)
curl https://rill.sh | sh
- Access to the Rill Project
Step 1: Clone the Repository
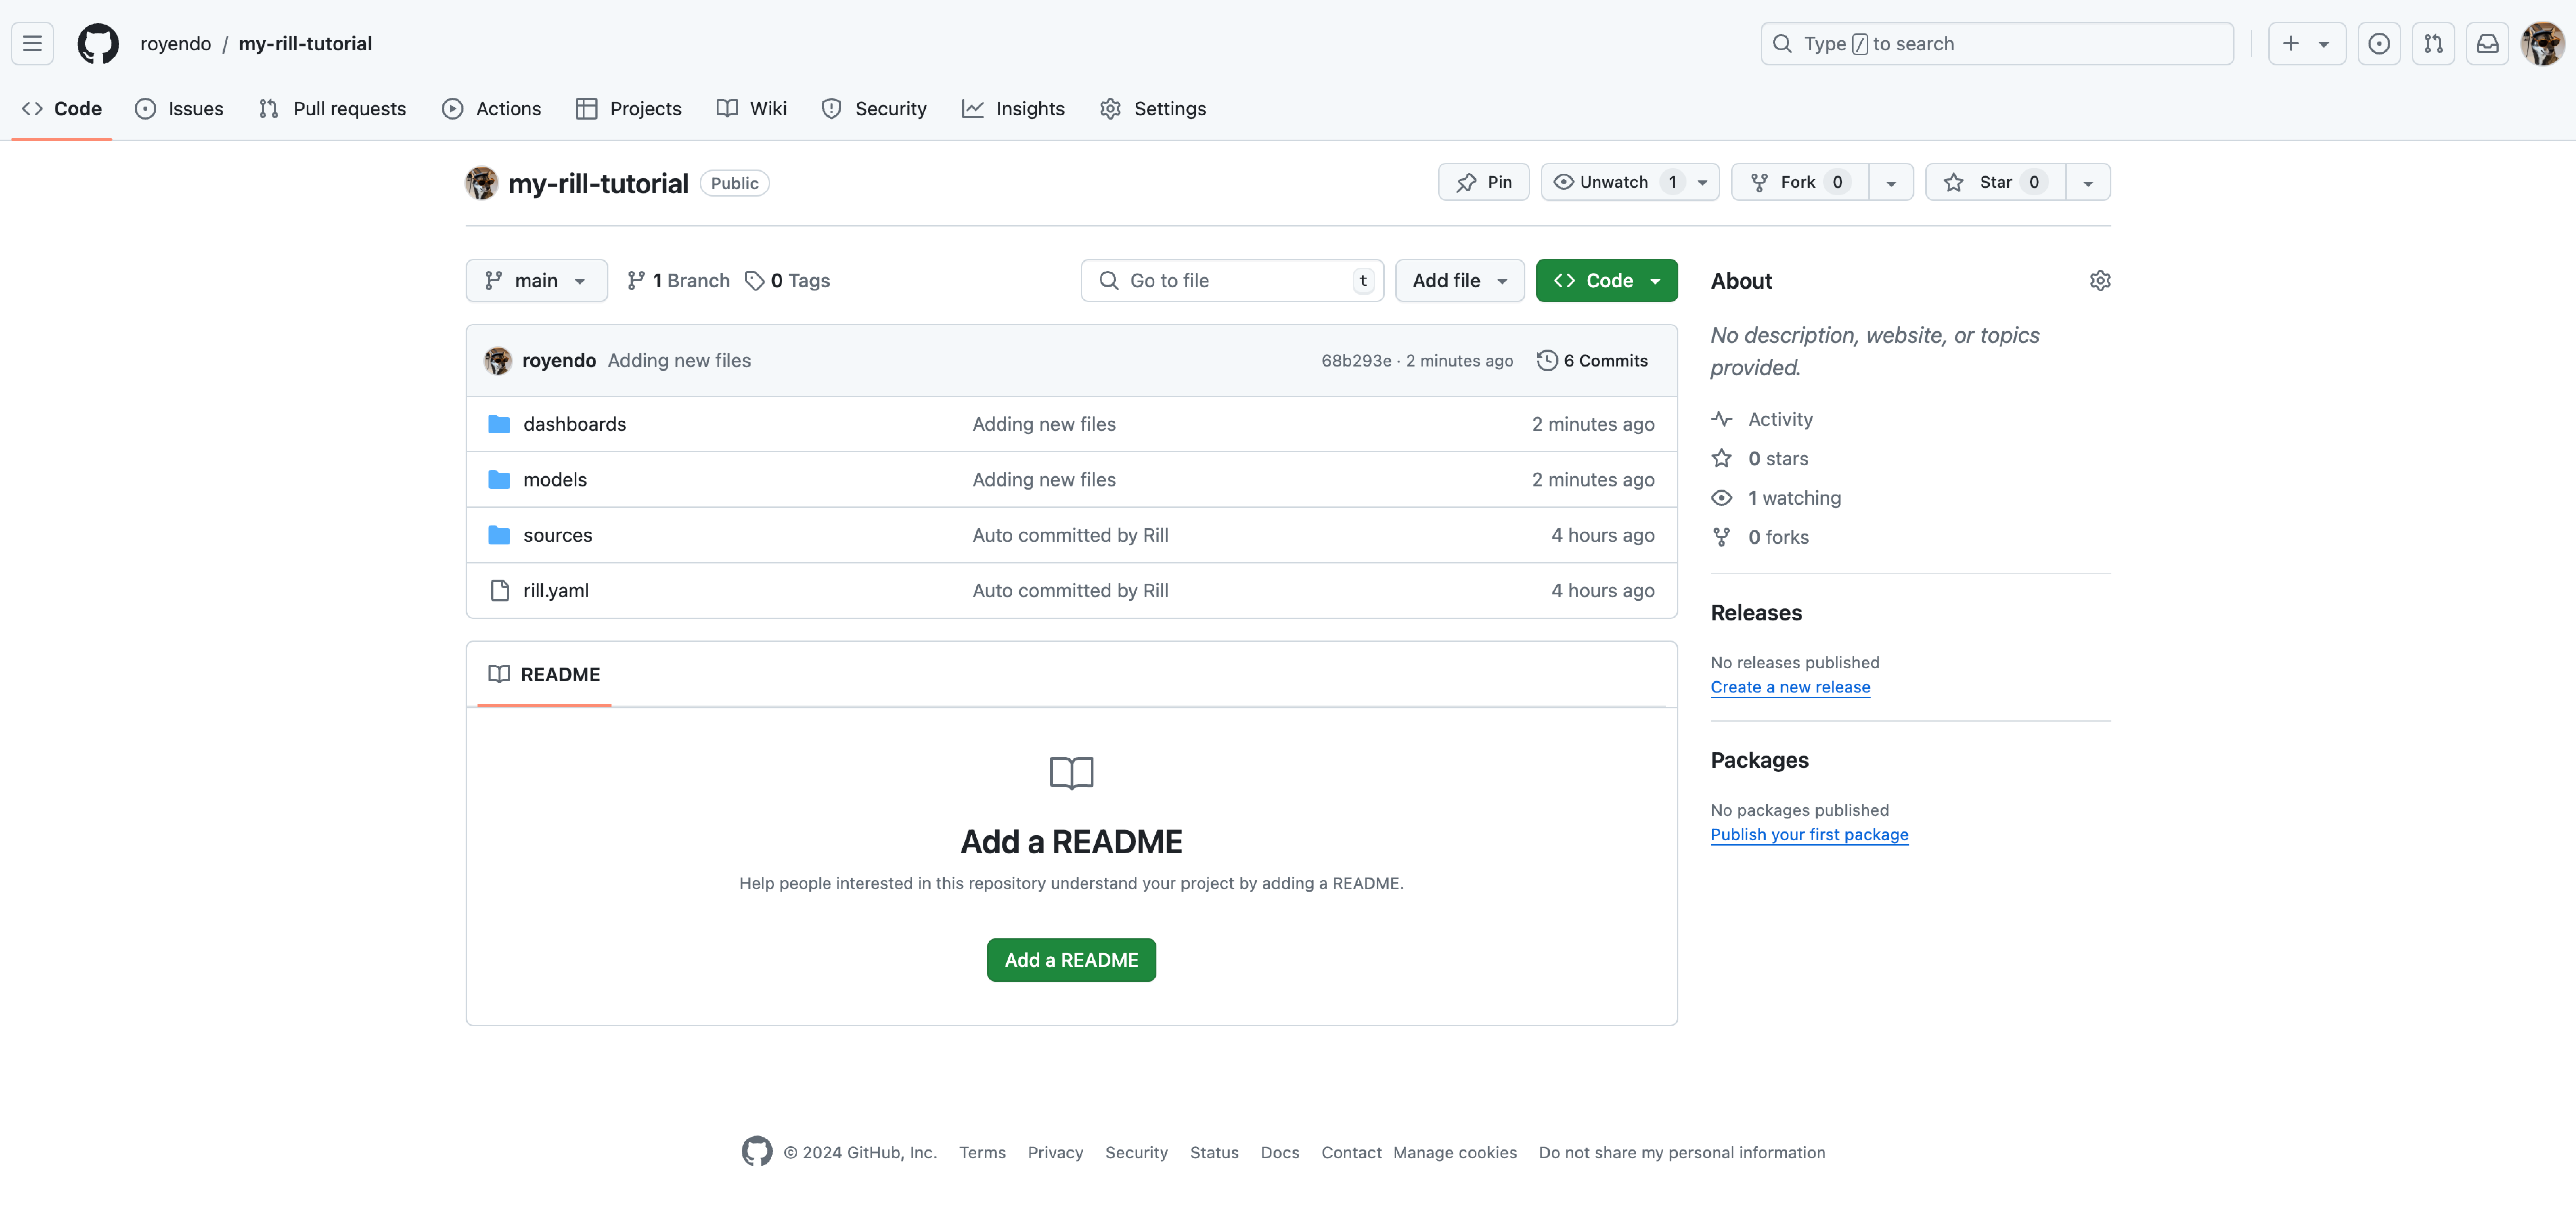
Depending on whether your project is synced to GitHub or not, select the correct clone method. If you are unsure, please see the Status page in the project.
From GitHub

# Clone the repository
git clone https://github.com/username/rill-project.git # Replace 'username' and 'rill-project' with your actual URL
cd <project-name>
Using Rill CLI

# Clone from Rill
rill project clone <project-name>
Step 2: Explore the Project Structure
A typical Rill project contains:
<project-name>/
├── rill.yaml              # Project configuration
├── sources/               # Data source definitions
│   ├── database.yaml      # Database connections
│   ├── api.yaml          # API endpoints
│   └── files.yaml        # File-based sources
├── models/                # SQL transformations
│   ├── staging/          # Staging models
│   ├── marts/            # Business logic models
│   └── metrics/          # Metric definitions
├── dashboards/           # Dashboard configurations
│   └── main_dashboard.yaml
├── alerts/               # Alert definitions
├── .env                  # Environment variables (not in git, need to run rill env pull)
└── .gitignore           # Git ignore rules
Step 3: Set Up Environment Variables
If you cloned the project via GitHub, you will need to run the following command to bring down the environment variables to your local machine.
rill env pull
If you cloned the project via the Rill CLI, you should see the following in the Terminal:
Updated .env file with cloud credentials from project "your-project-here".
As an admin, when running rill start, we'll automatically retrieve your credentials for you. No need for extra steps.
Step 4: Check your Source YAML before starting Rill
We want to check to see if any {{if dev}} ... {{end}} parameters have been set in your source ingestion. If not, when you start Rill, this will initiate a full ingestion of your data, which might take some time and, depending on the source location, could incur costs (e.g., Snowflake, BigQuery). However, if your data is not that large, it may be safe to start Rill without these guardrails.
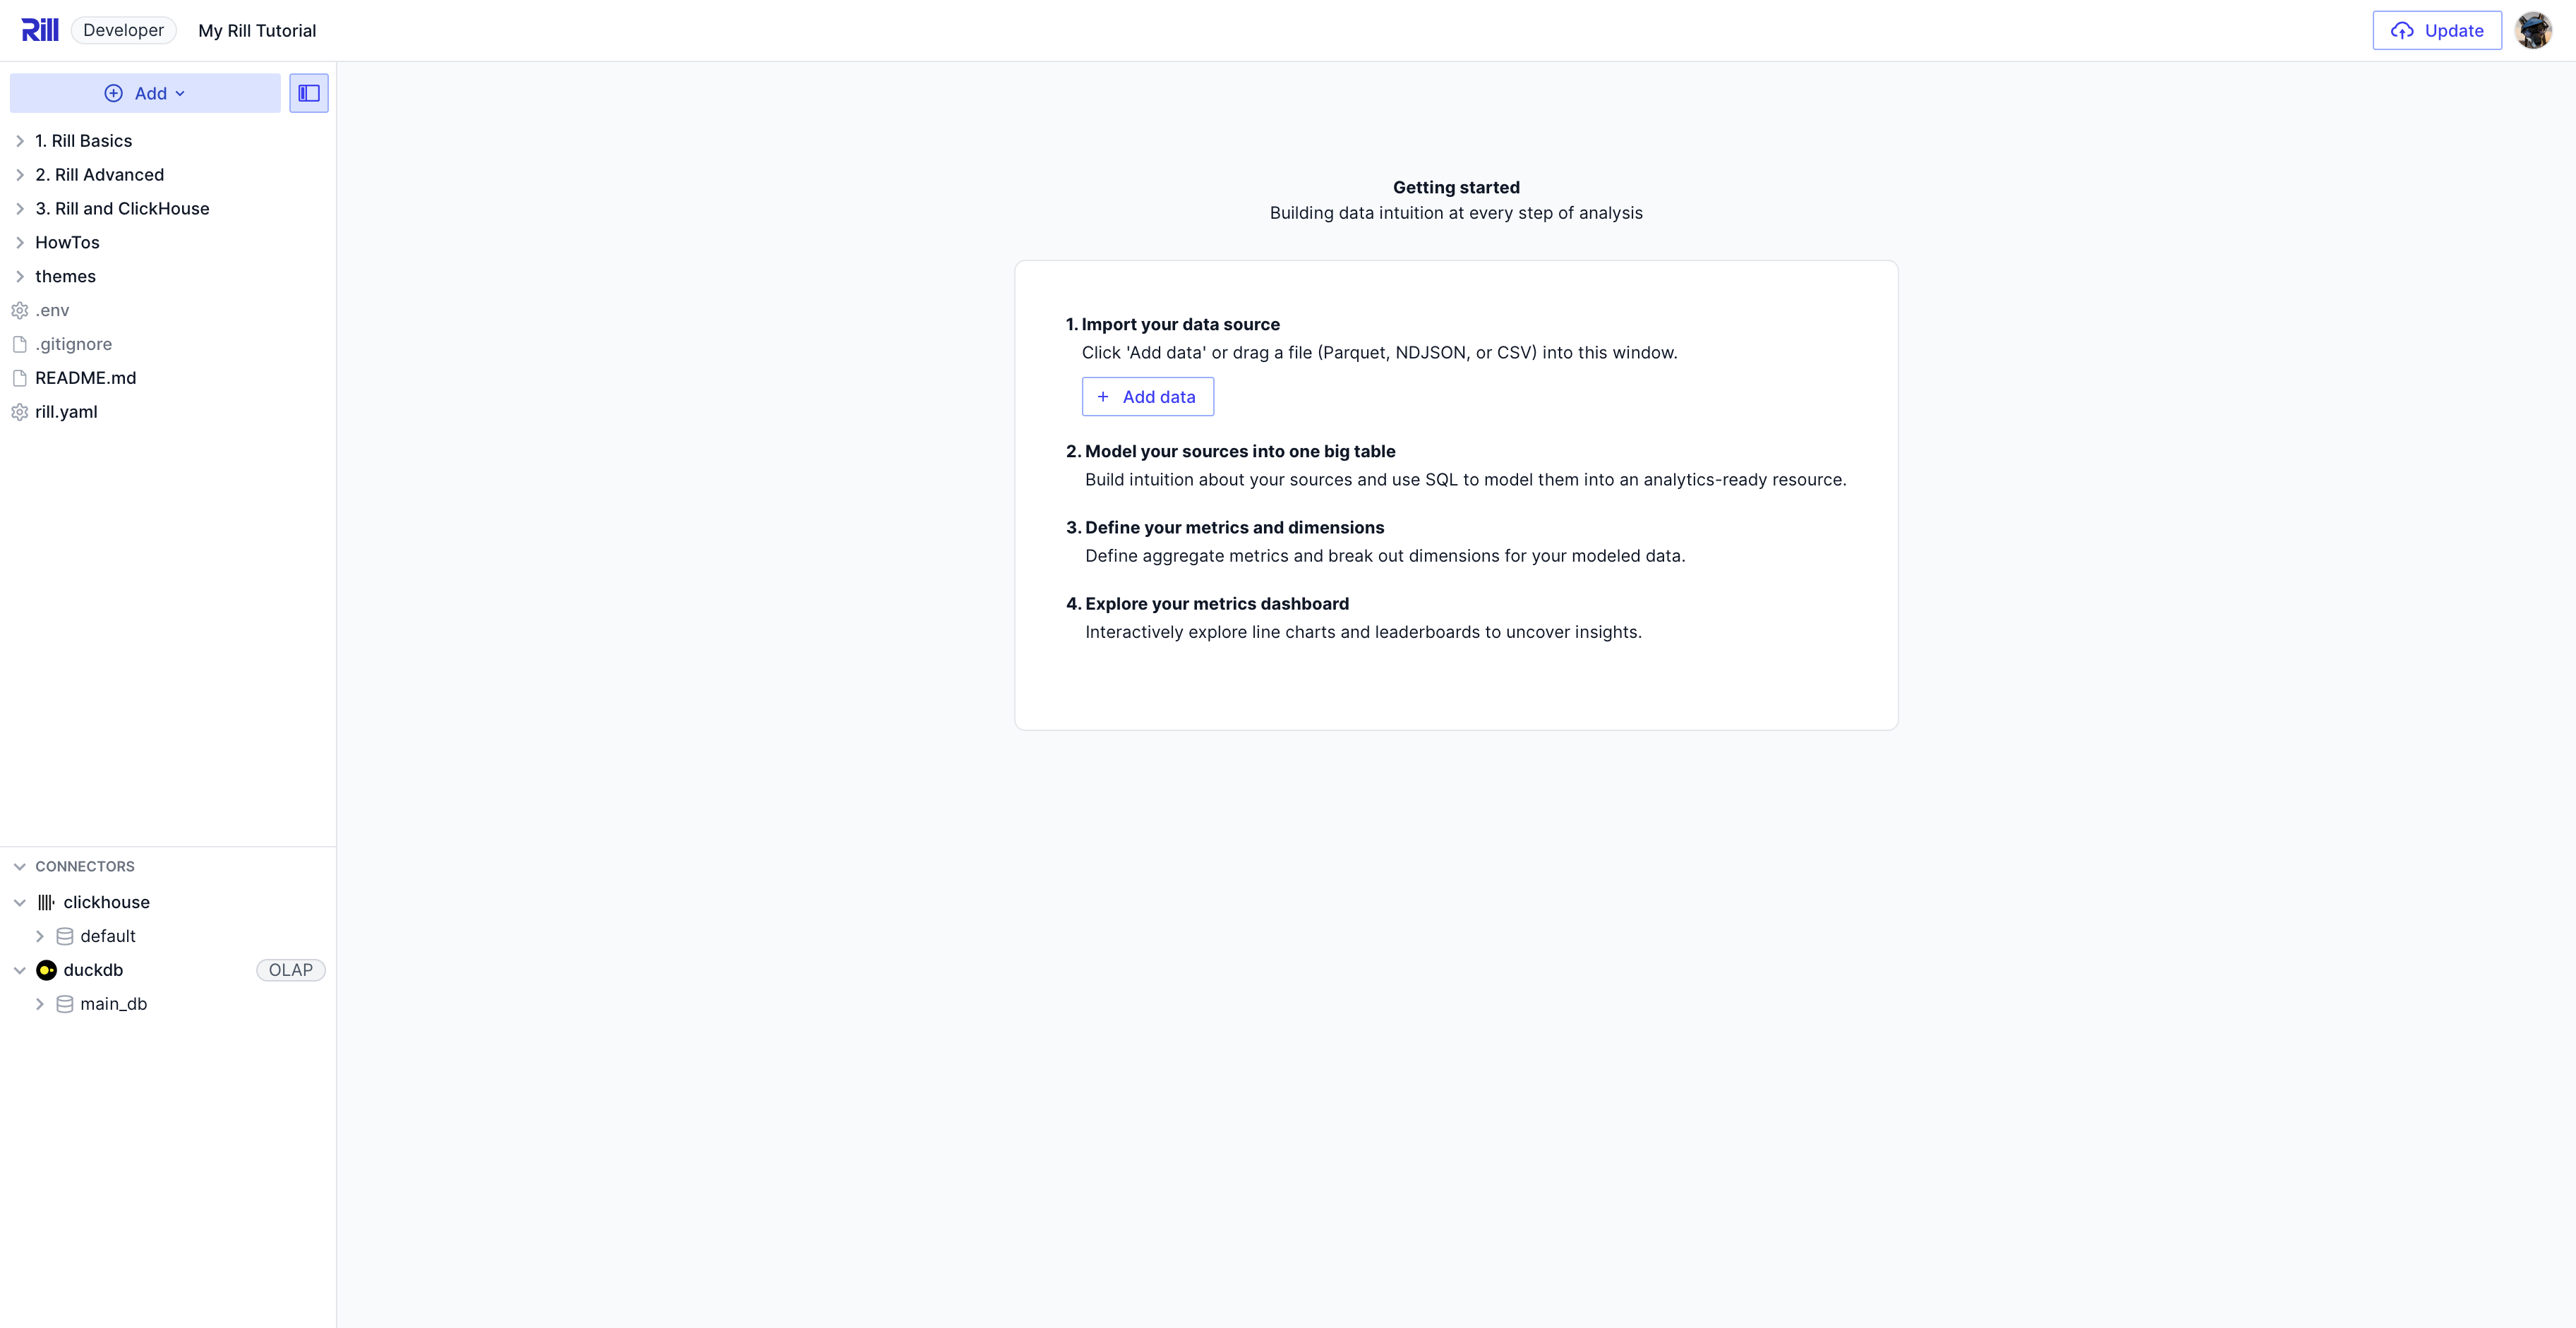
Step 5: Start Rill Developer
Start the Development Server

# Start Rill Developer
rill start
This will:
- Start the web UI at
http://localhost:9009- Initiate ingestion of data sources
- Start building your models and dashboards
- Show any errors or warnings
Step 6: Explore the Project and Make Changes
Once your sources and models have built and you are able to explore your dashboards, make the needed changes to the files and get ready to update your Rill project.
Changes to sources and models will initiate a full refresh of the source, unless otherwise indicated via patch_mode. We highly recommend reviewing the changes to ensure that you do not push unwanted changes to your production environment.
via git
For projects that were cloned via git, you'll need to run the required git commands to add, commit, and push changes. Keep in mind the basic git practices about merging files to main without having an approval process.
via Rill Update Button
For projects cloned via the CLI, the underlying connection to the deployment will also be brought locally so that when the button to "Deploy" is now "Update" the existing deployment. Keep in mind the warning above about changes to sources and models.