How do I add a new dimension to my dashboard?
You will need to add the dimension/s back in Rill Developer and push the changes to Rill Cloud when you're ready.
Rill Developer
Depending on whether your dashboard was created directly from your source or via a model, you will need to ensure that all the components are updated.
Checking the Sources
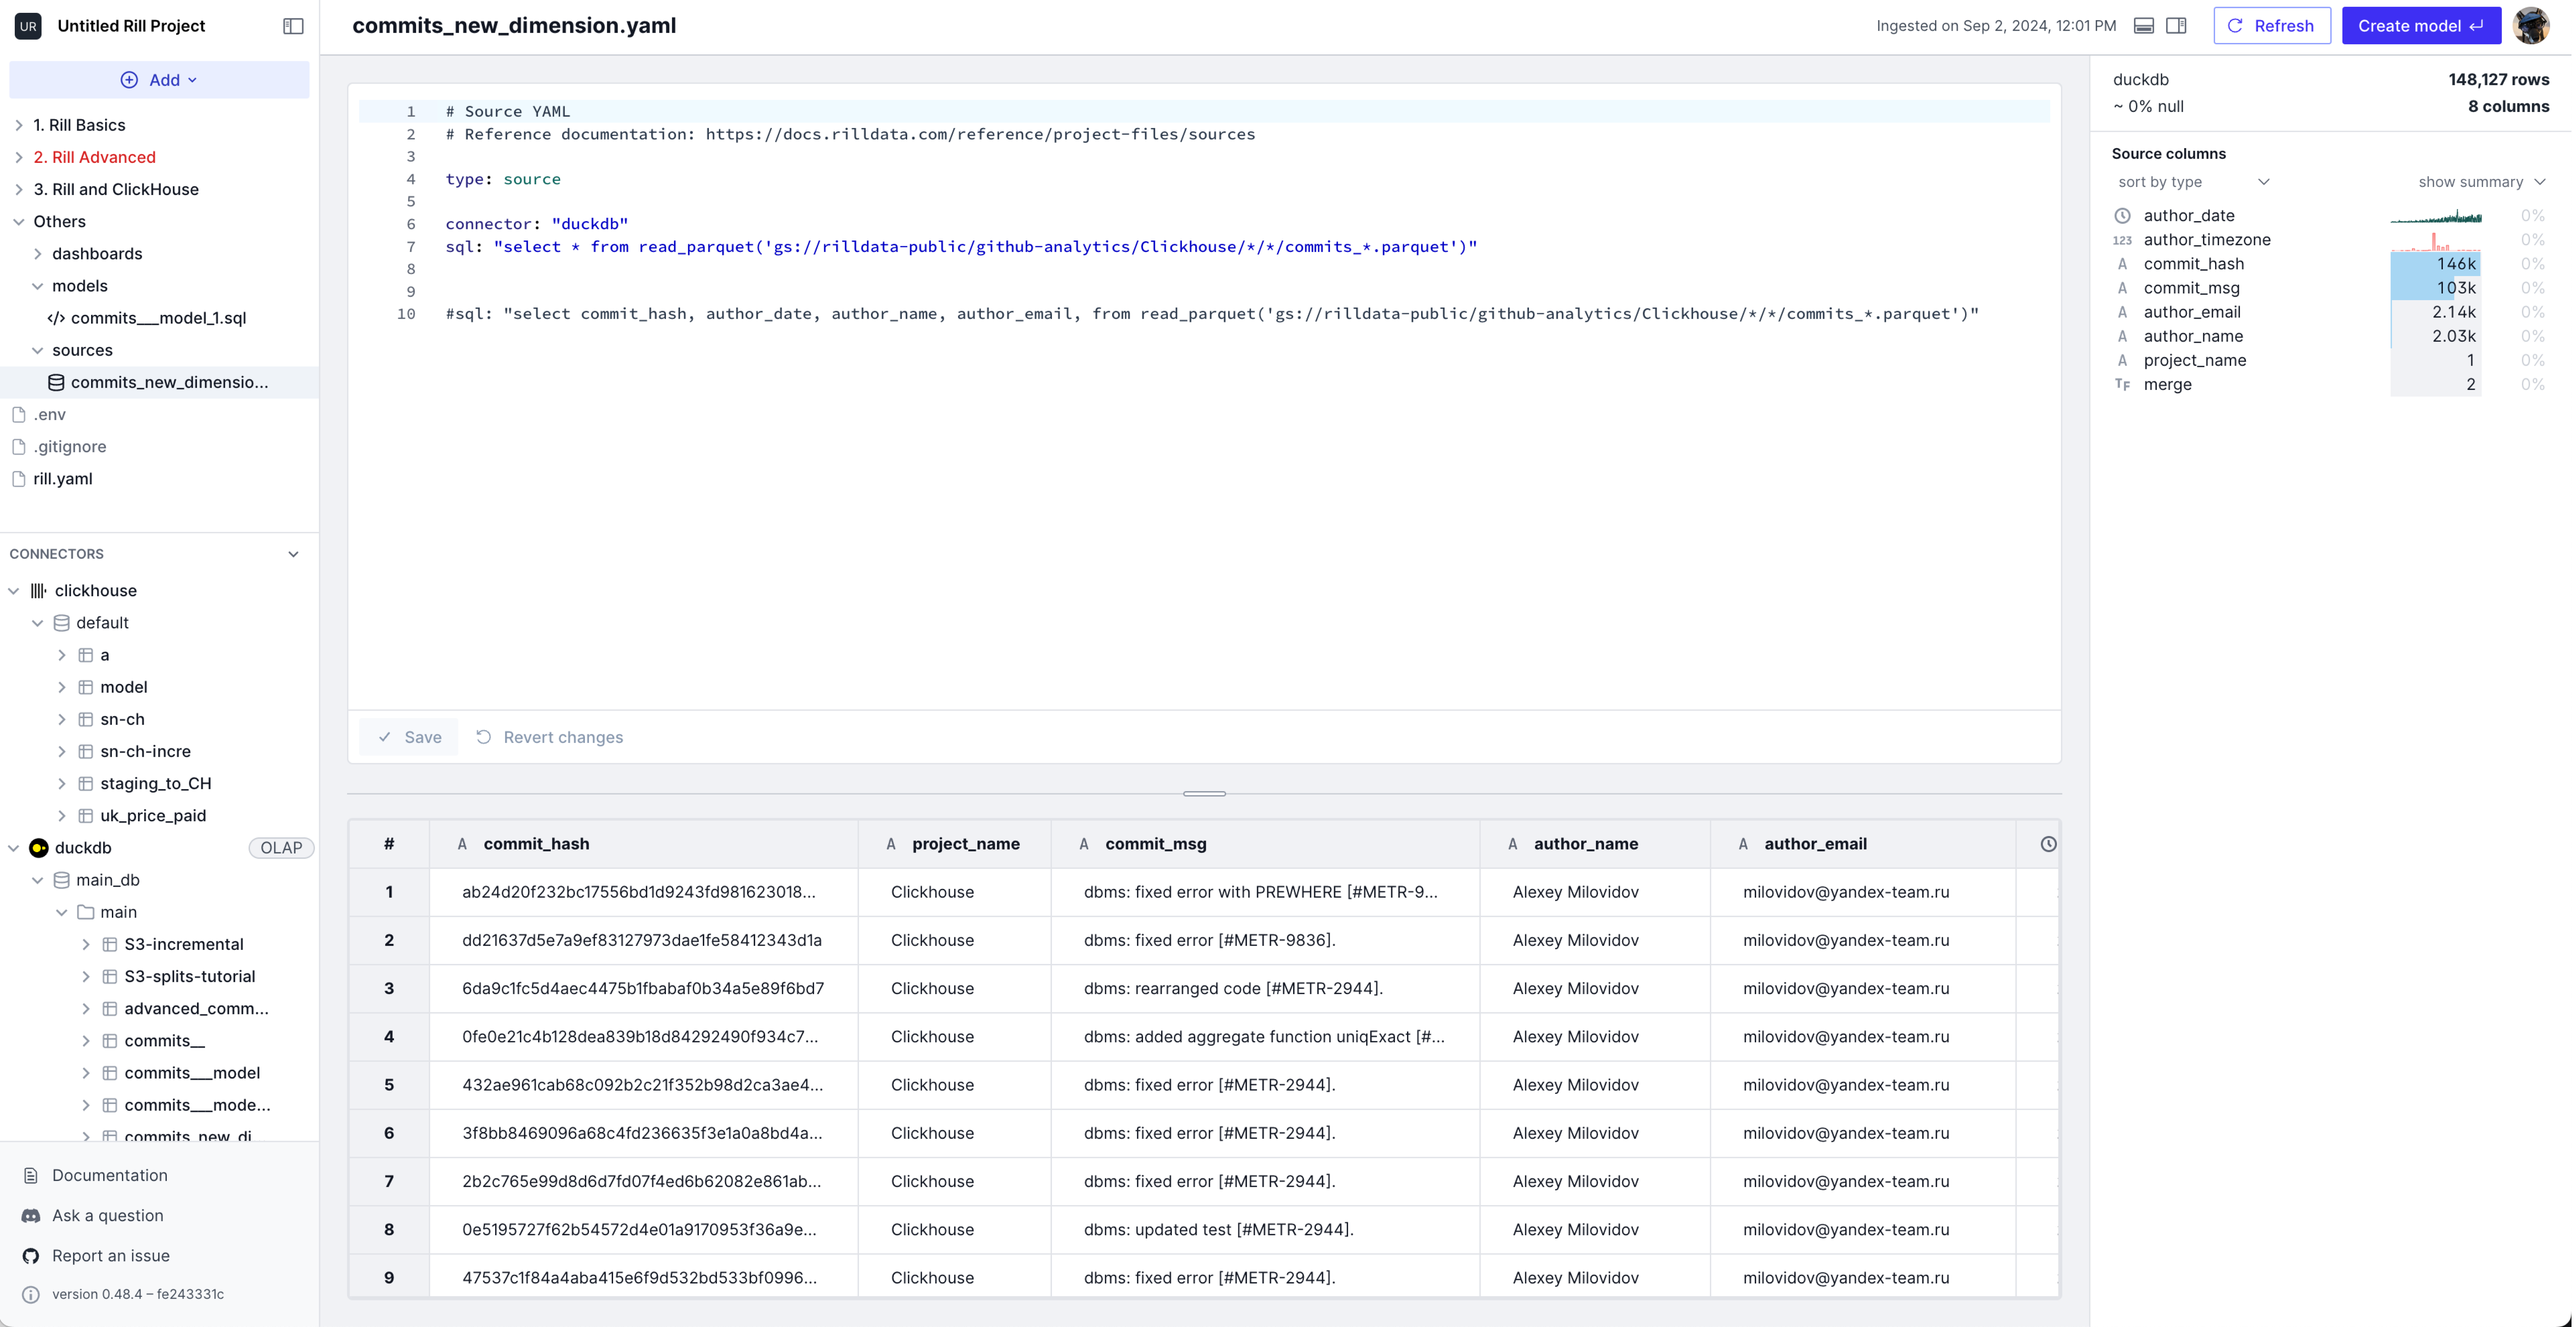
You need to check that the new column is being ingested into Rill. If you have a select * statement, go ahead and select the refresh button and confirm that the new column is listed. If not, add the new column into your select statement and select refresh.
If your dashboard is created directly from the source, navigate to adding the new dimension to the metrics view. If not, continue to the model to make changes.
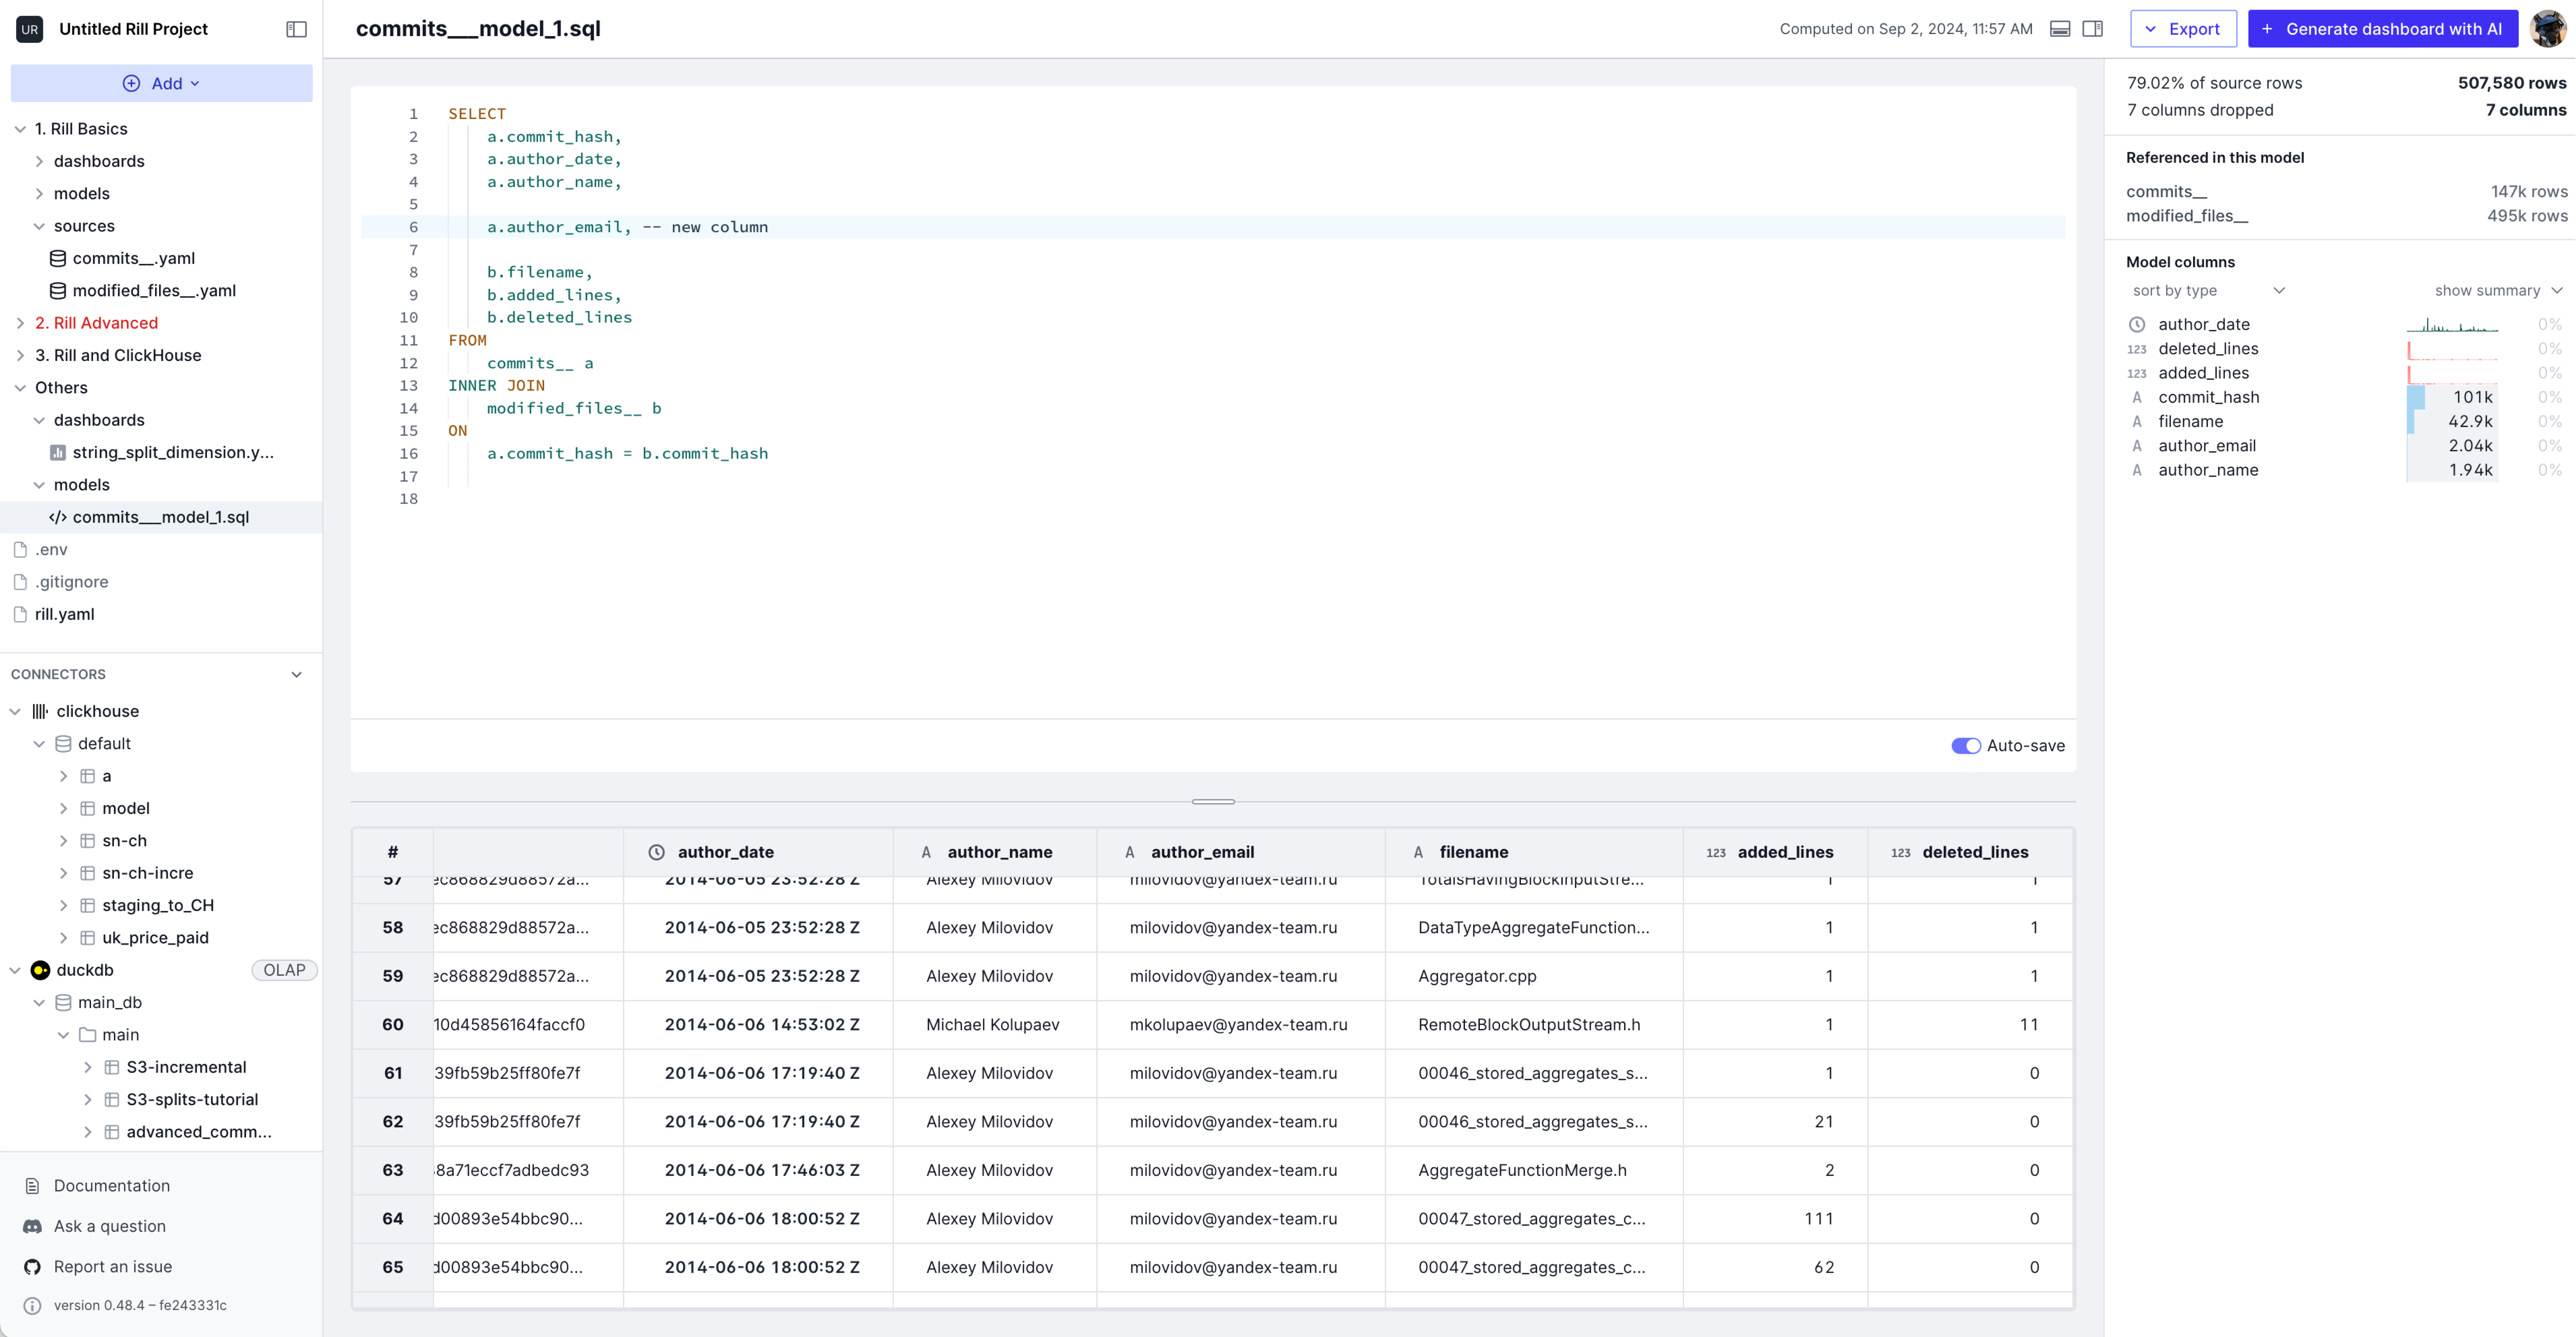
Metrics View created from a Model
After confirming that the sources have ingested the new data, you can modify the model to include these new dimensions / measures. If you need to make any transformations, you can do so here or in the metrics view layer.
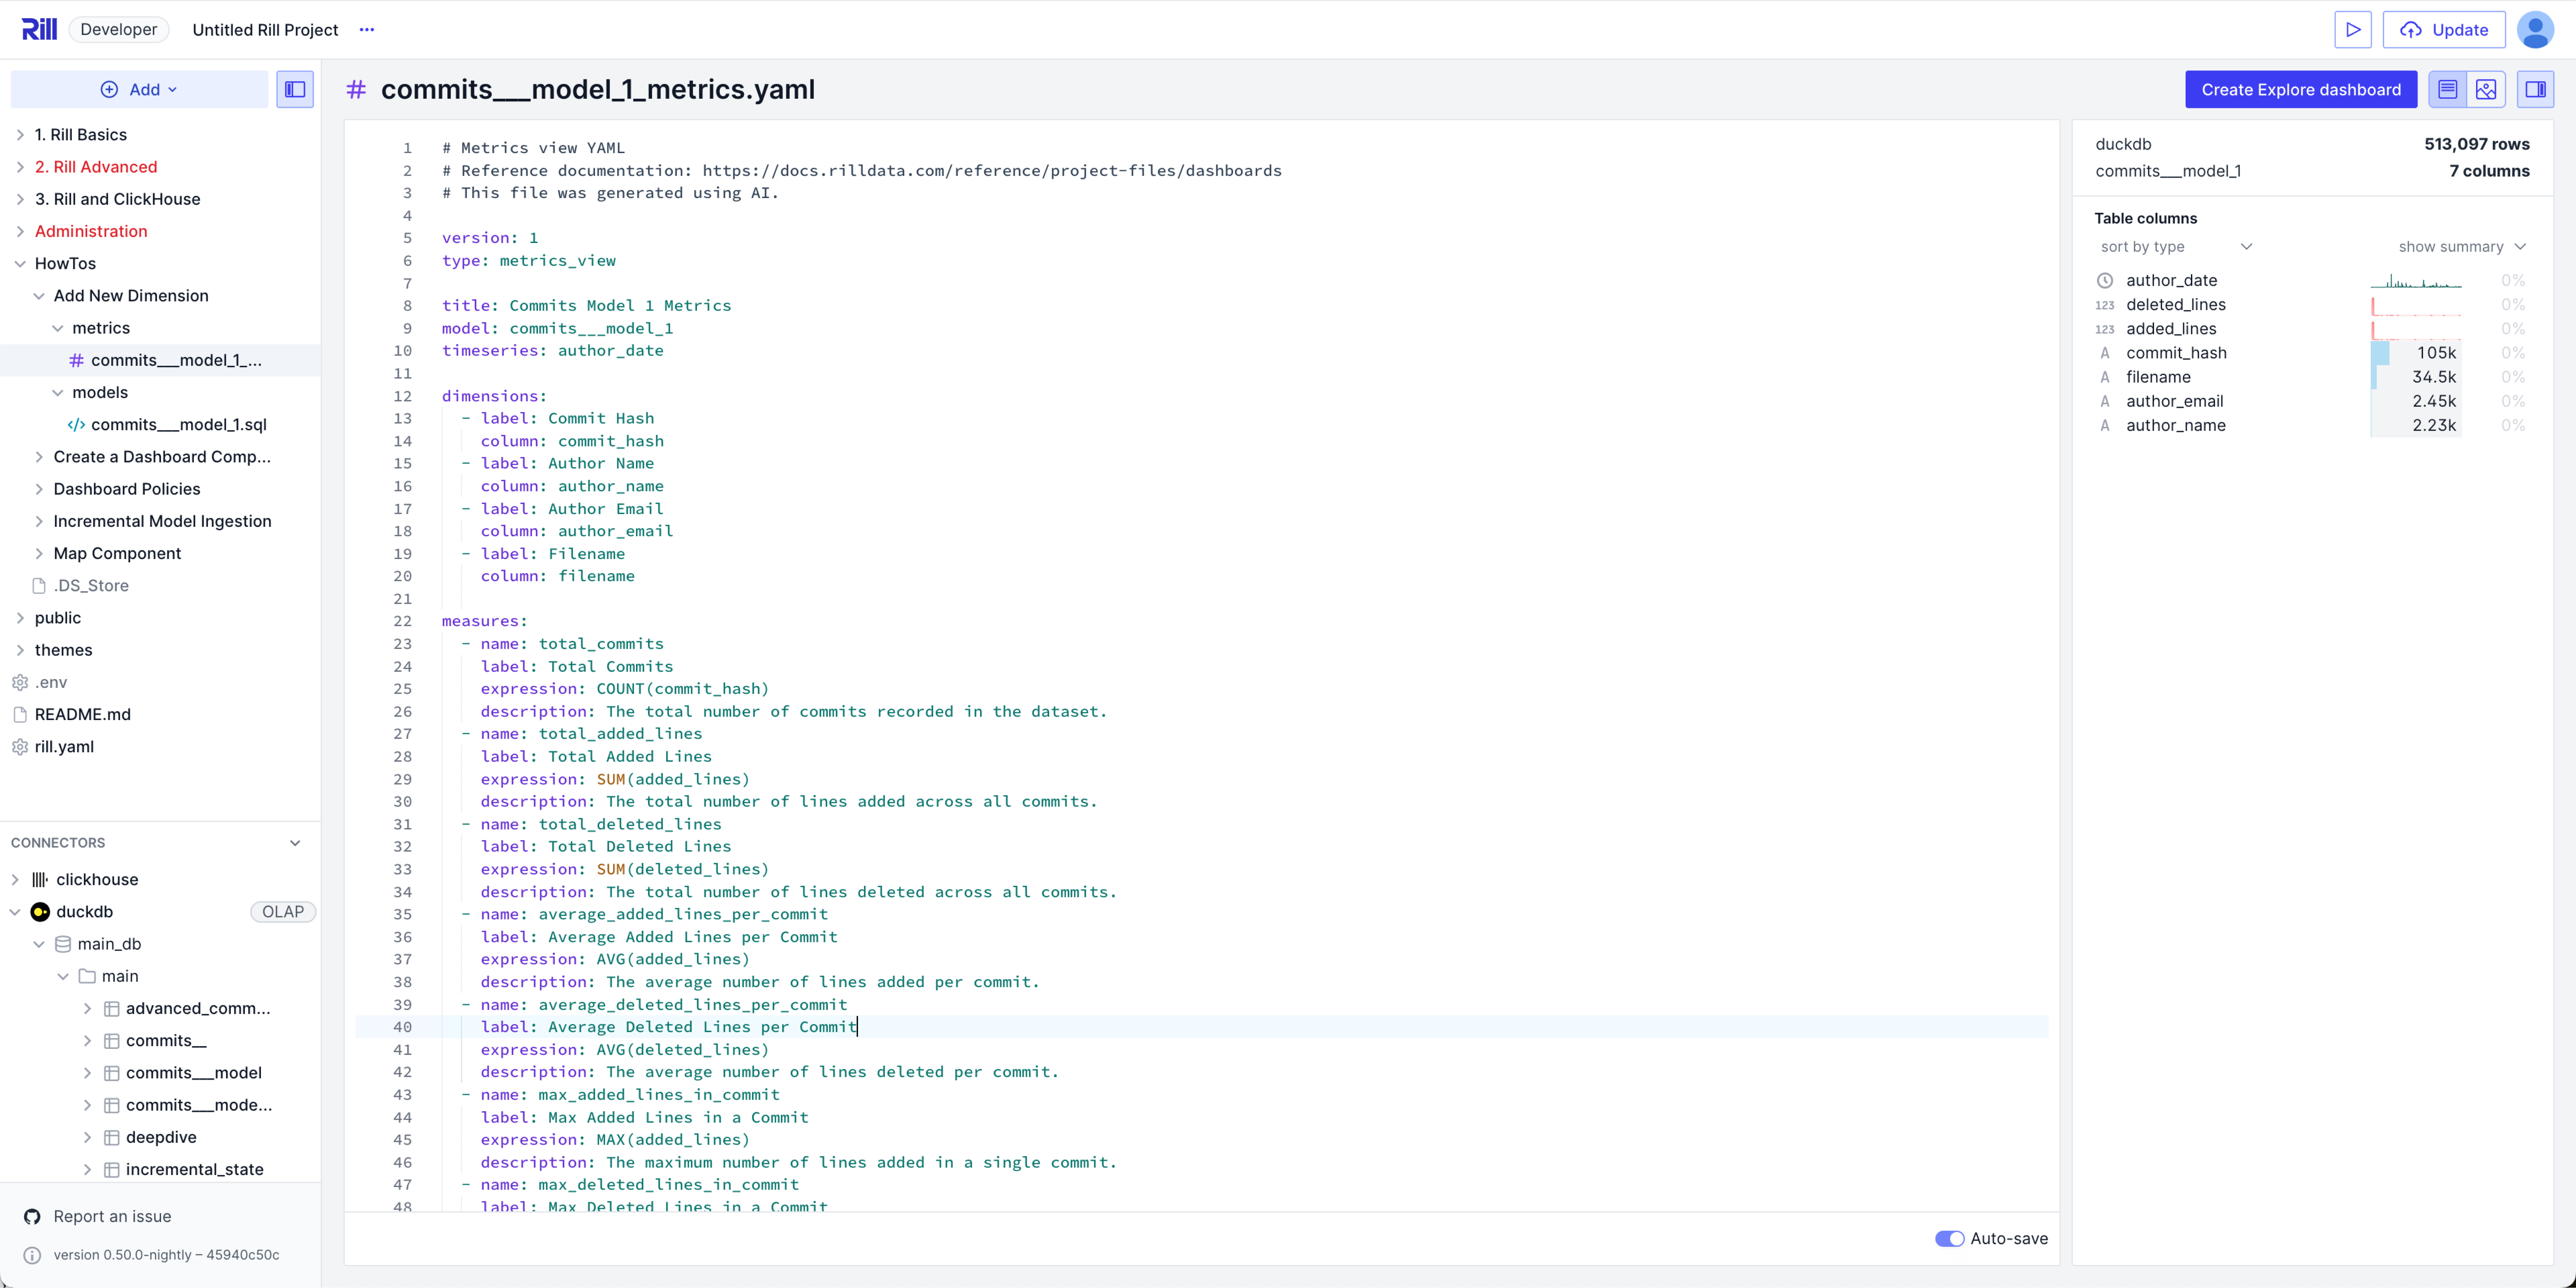
Adding the new Dimension to the Metrics view
You can add the dimension / measure to the metrics layer. Notice in the right panel, your newly created dimension or metric can be seen in the right panel. You can add either from the Visual metric editor or the YAML.
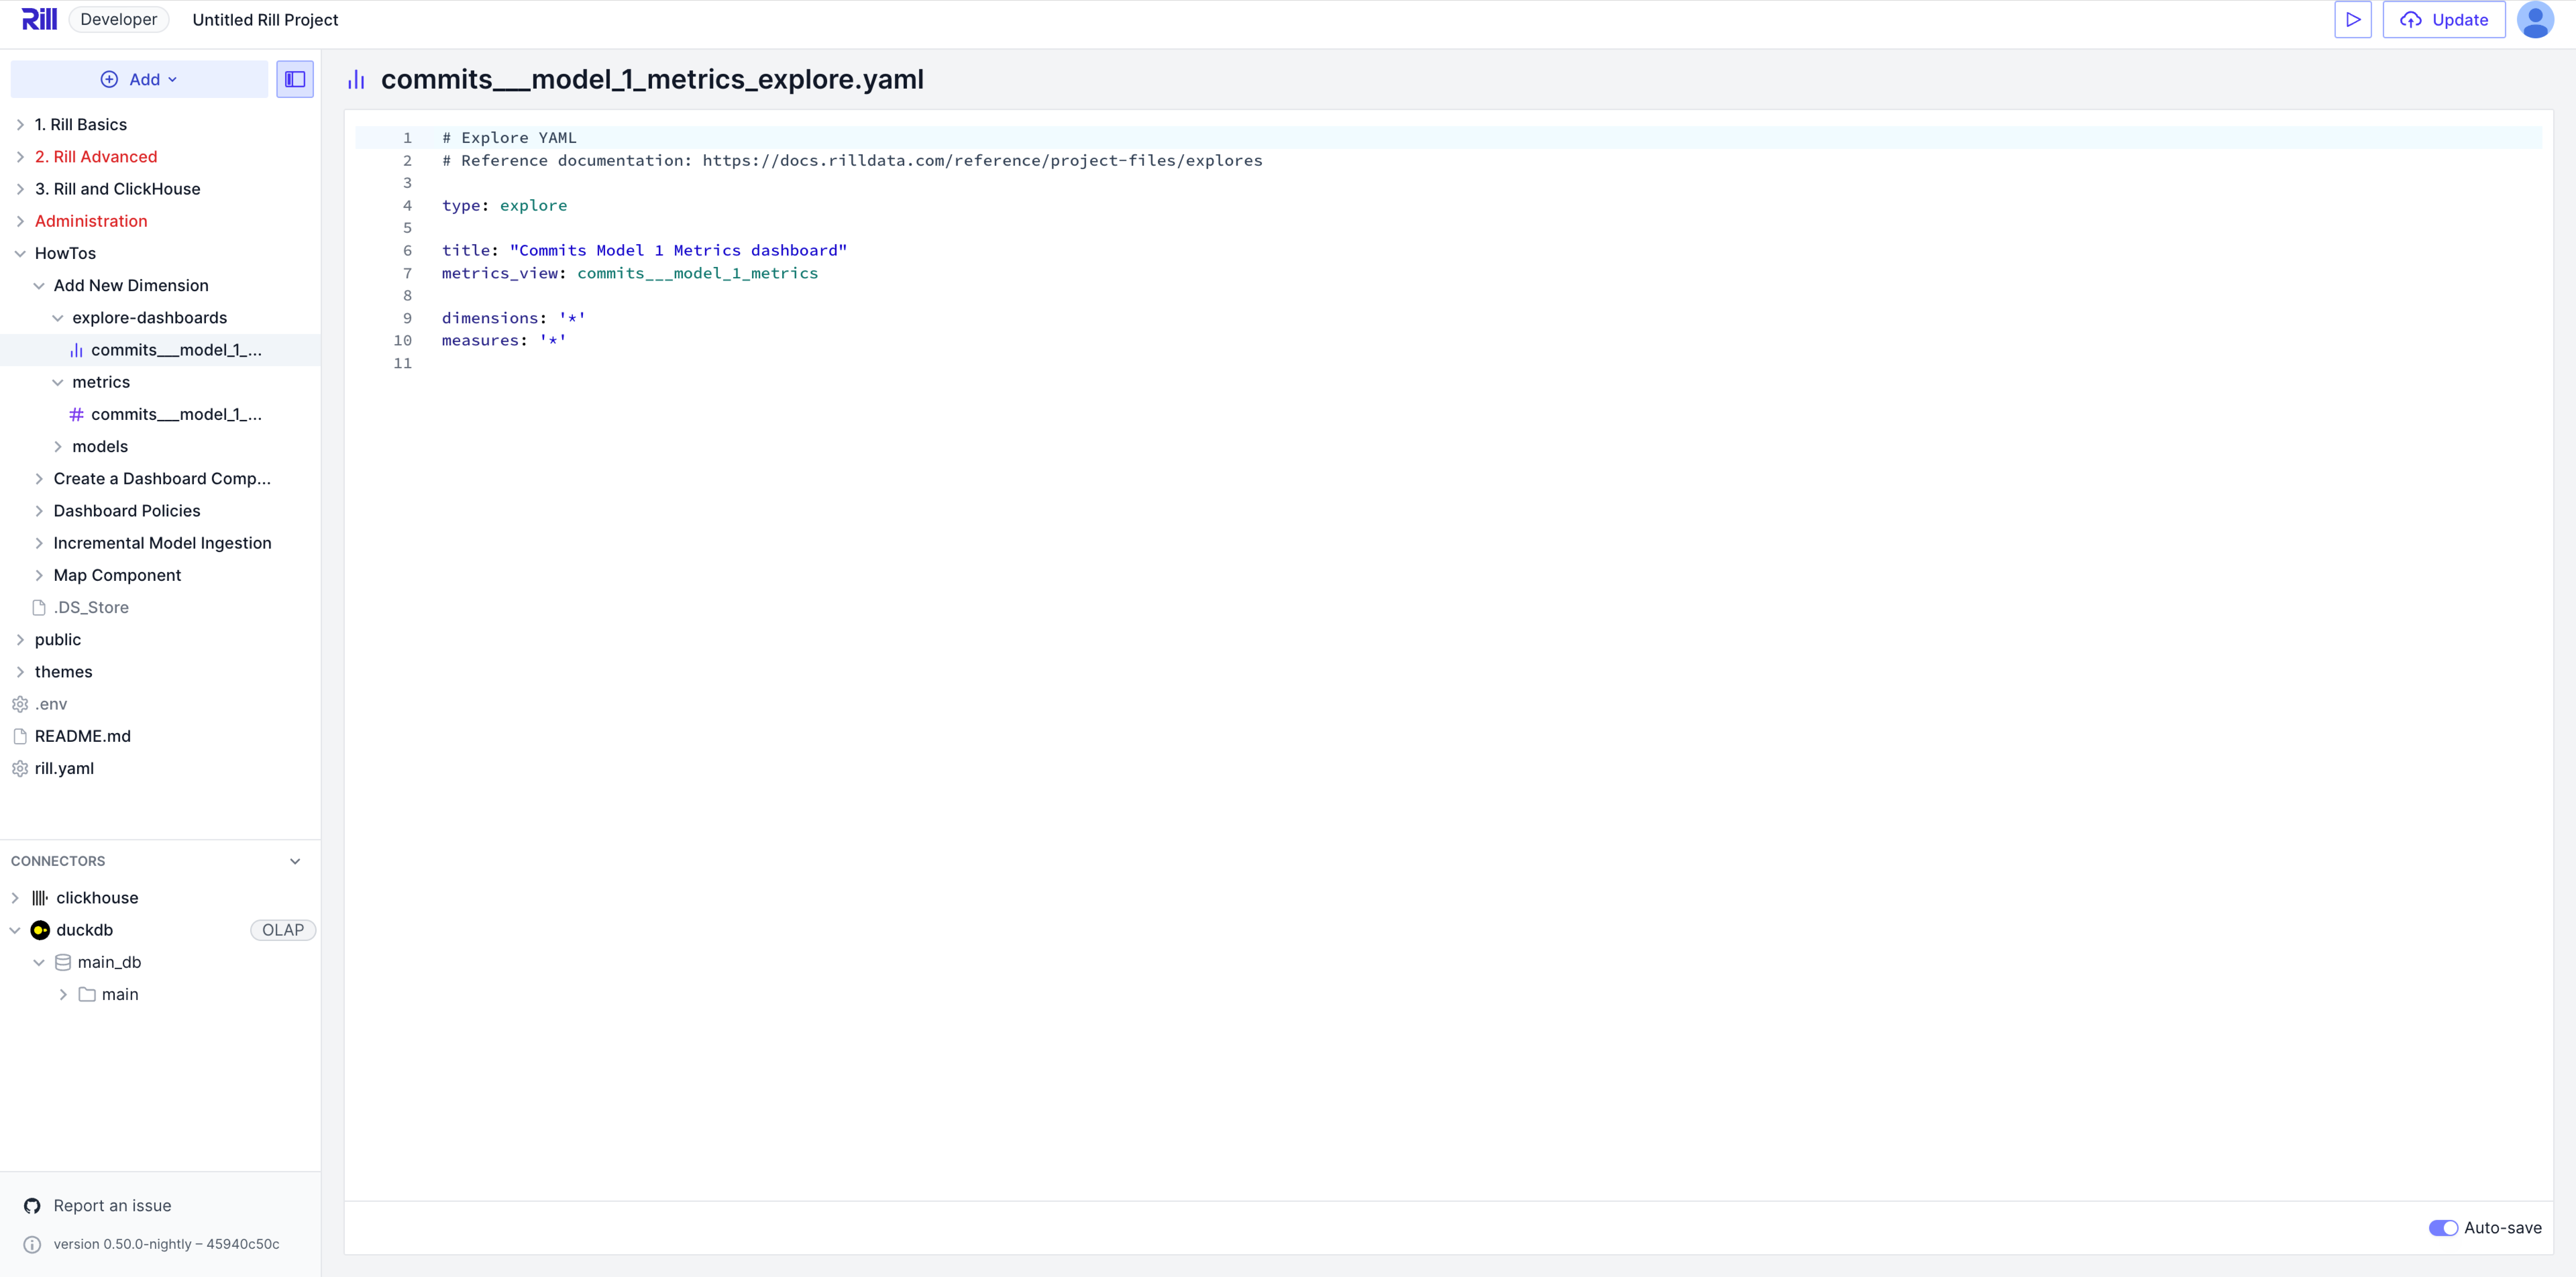
Adding the dimension to the Dashboard
Finally, you can preview the dashboard to see if the new dimension/measure is viewable. If not, please double check the dashboard YAML.
Rill Cloud
Pushing Changes
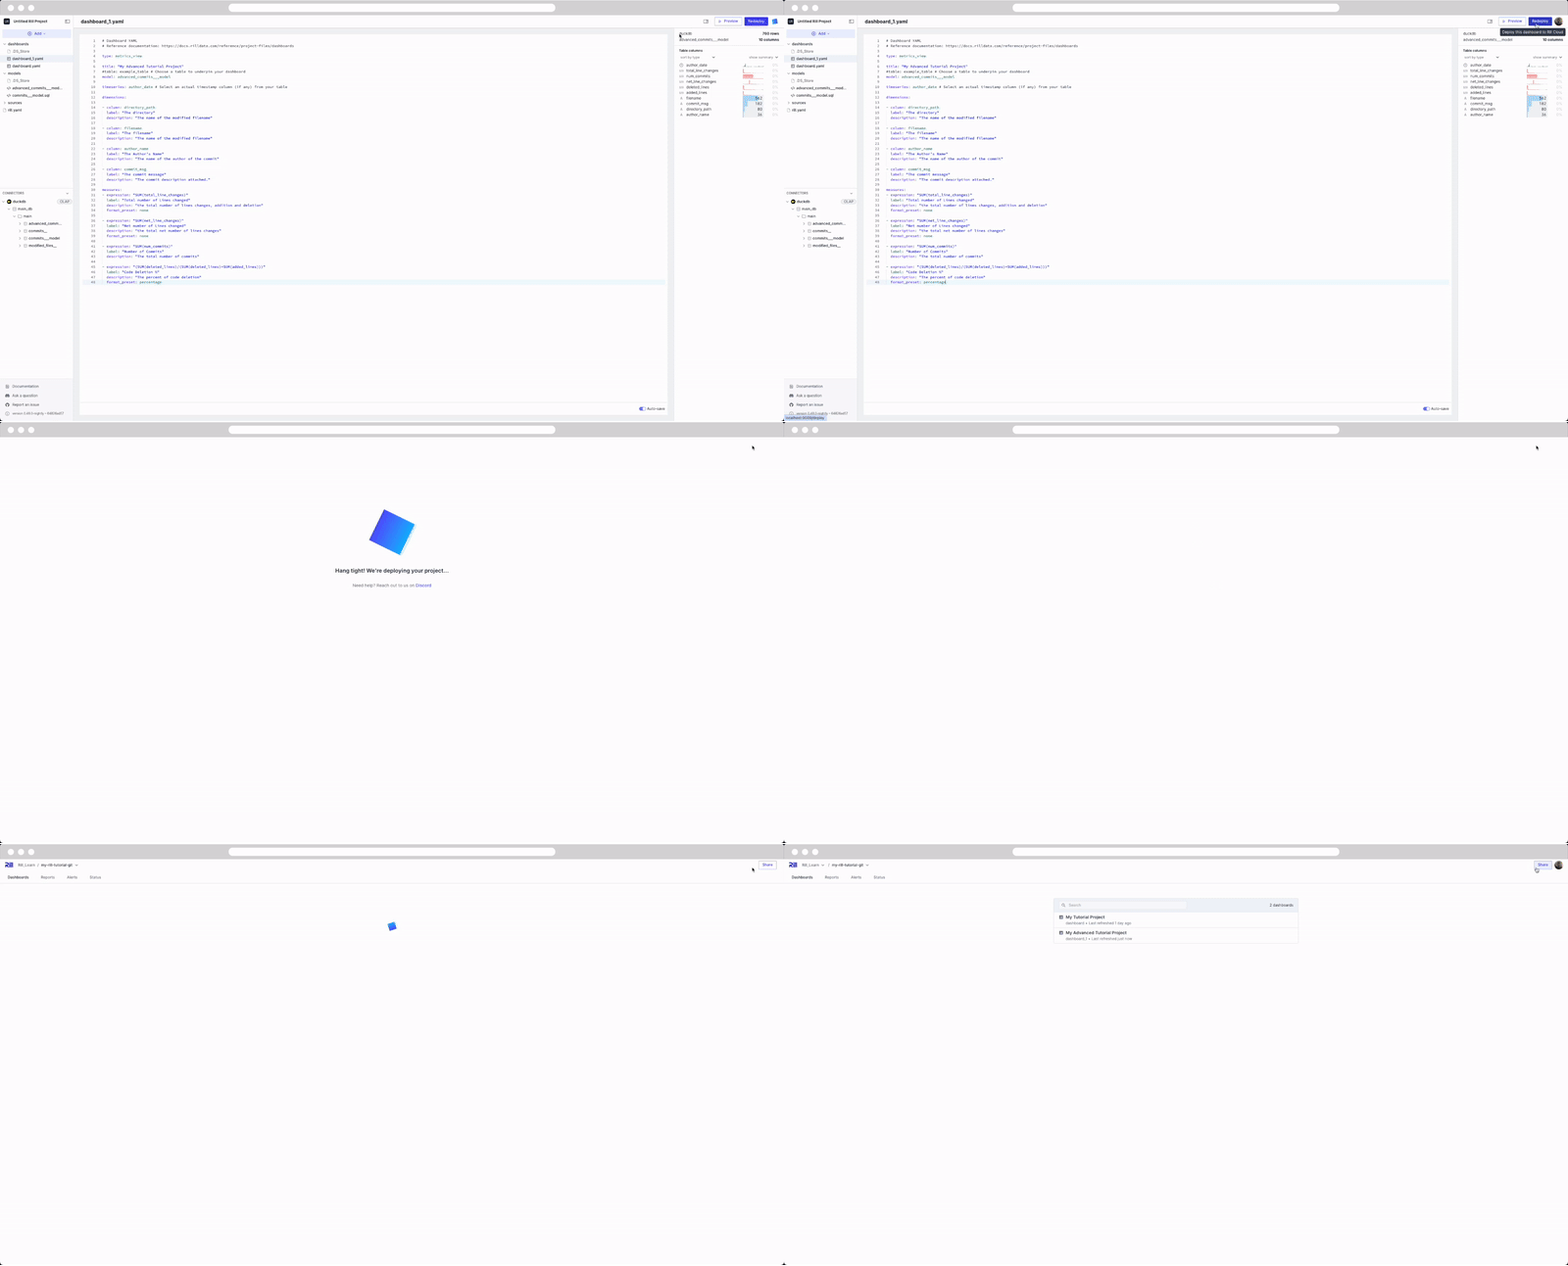
Once you have finished making all the changes to your dashboard you can push the new changes to Rill Cloud either via the UI by selecting Update or via GitHub by pushing the changes to your repository.
Refreshing Sources
If you are not seeing the new dimension in your dashboard, please refresh the source or model.
rill project refresh --source <your_source>
rill project refresh --model <your_source> --full